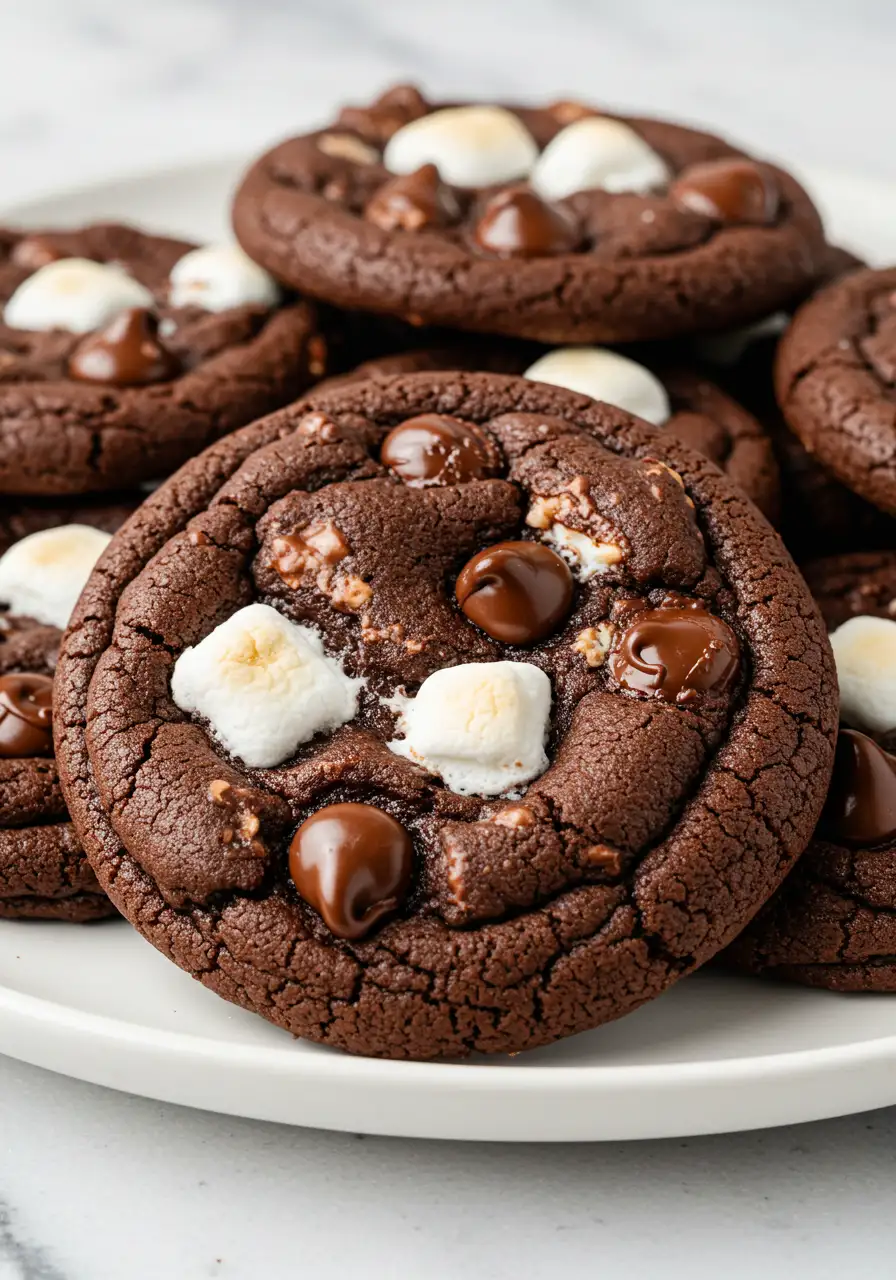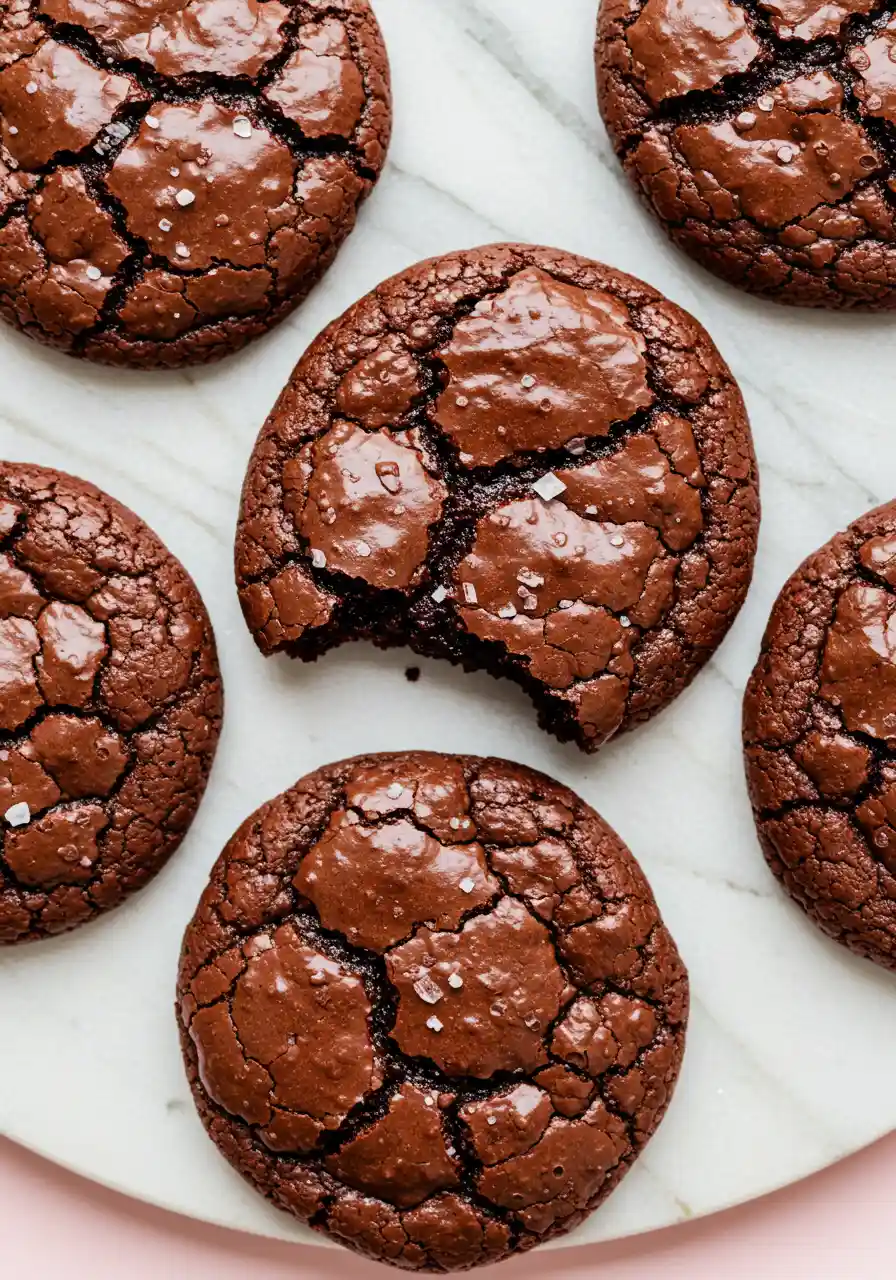
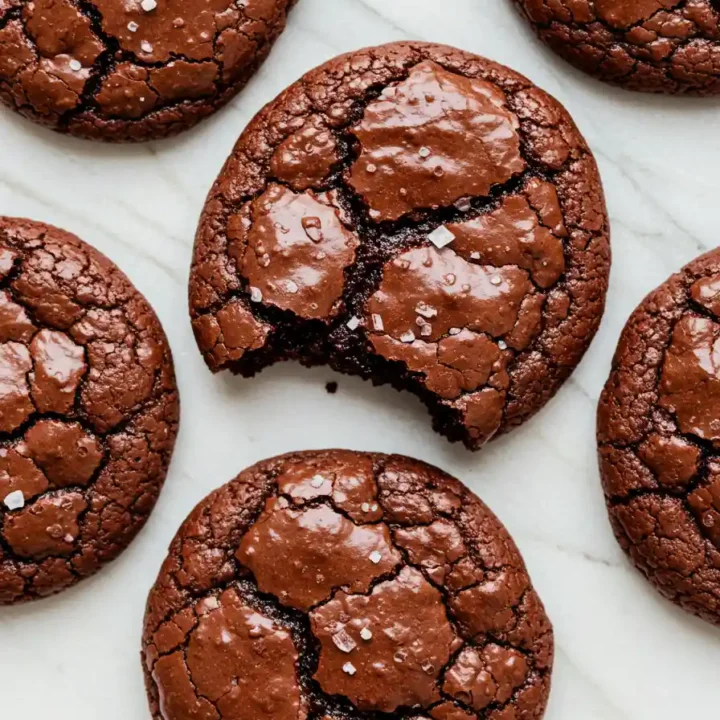
Some desserts make you pause. You take a bite, close your eyes, and just exist in the moment. That’s exactly what happens when you sink your teeth into these Chocolate Brownie Cookies.
They’re everything you love about brownies, the crackly top, the rich chocolate flavor, the melt-in-your-mouth fudginess, except in the form of a cookie.
I discovered this recipe on one of those dangerous late-night baking adventures, you know, the kind where you’re craving something ridiculously chocolatey but can’t decide between a brownie or a cookie.
So, I did what any self-respecting dessert lover would do: I merged them. The result? A cookie brownie recipe so good, I had to hide the last few just to make sure I got some before they disappeared.
Jump to
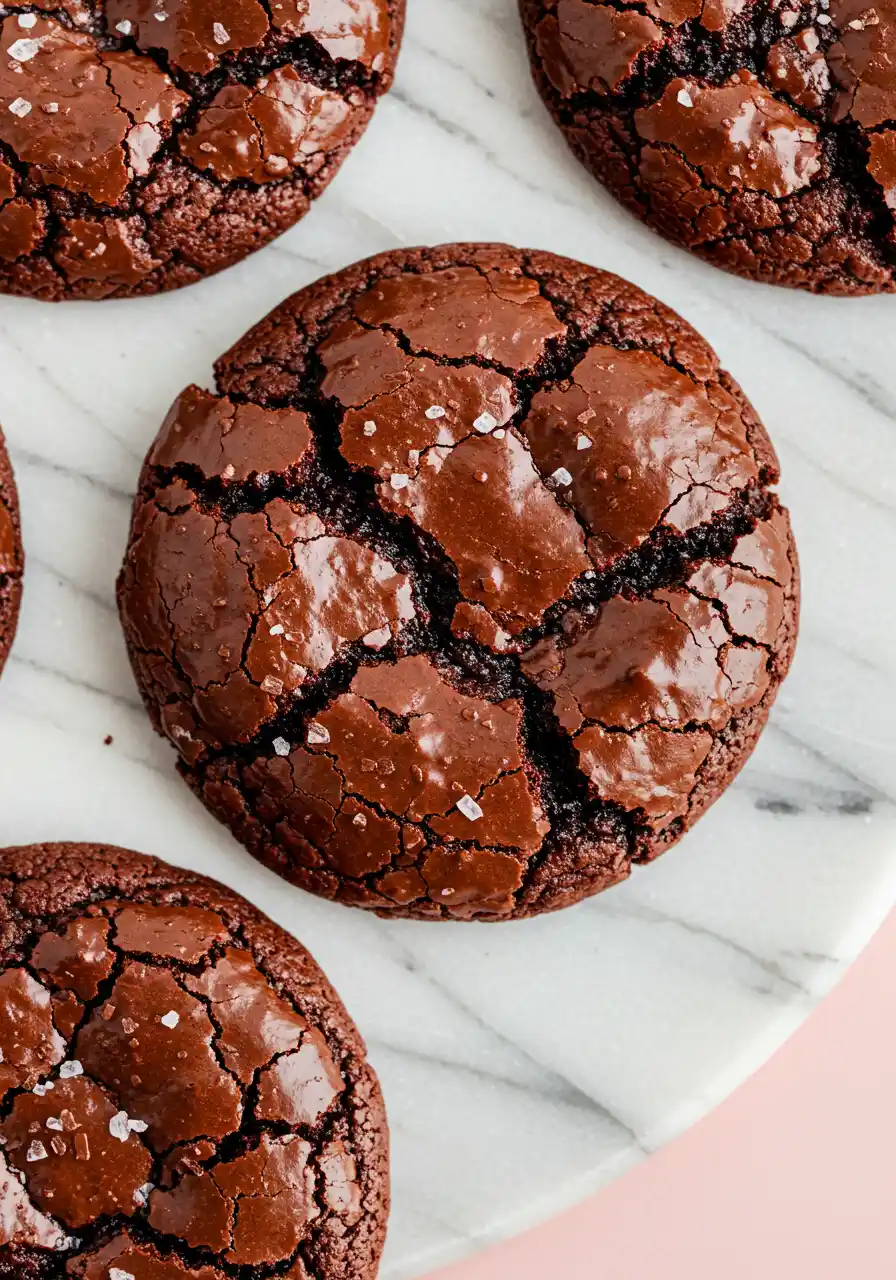
So if you’re ready for a treat that’s crispy on the edges, gooey in the center, and loaded with chocolate in every bite, let’s get baking. These chocolate brownie cookies won’t last long, consider yourself warned.
The Ingredients You’ll Need
- All-Purpose Flour – Just enough to give the cookies structure without making them cakey. We’re here for that brownie-like chew!
- Cocoa Powder – A little extra chocolate never hurt anyone, right? This deepens the flavor and gives that rich, chocolaty kick.
- Baking Powder – A tiny bit to help the cookies puff up slightly before settling into their signature fudgy texture.
- Salt – Because chocolate loves salt! It enhances all the flavors and balances out the sweetness.
- Dark Chocolate – The star of the show. Melted into the batter, it creates that gooey, brownie-like texture we’re after.
- Butter – Adds richness and makes everything smooth and luxurious. Brownies and cookies both need butter, so of course, this does too!
- Eggs – These work their magic by binding everything together while giving the cookies that soft, chewy bite.
- Caster Sugar – Helps create that classic crackly top we all love in brownies.
- Light Brown Sugar – Adds a slight molasses touch, making the cookies even softer and more flavorful.
- Vanilla Extract – Because a little vanilla makes chocolate taste even better. It’s the secret weapon in almost every great dessert.
- Chocolate Chips – Because more chocolate means more happiness in every bite.
Note: This is just a quick rundown of the ingredients I used and why, to find all the details and measurements, simply scroll down to my recipe card!
How to Make Chocolate Brownie Cookies
Here’s how you can create this perfect blend from scratch, step by step, no rush, just good vibes and better cookies.
Get the Oven Ready & Prep the Tray
First things first, let’s get that oven cranking! Preheat it to 170ºC (338ºF) for conventional heating.
While it’s heating up, line your baking tray with parchment paper. Trust me, you’ll thank me later when you don’t have to scrape cookie dough off the pan.
Melt the Chocolate & Butter Magic
Grab your dark chocolate and butter, and break them up into chunks. Toss them in a heatproof bowl, and then place it over a pot of simmering water, don’t let the bowl touch the water though.
Stir them together as they melt, and when it’s all smooth and glossy, toss in your vanilla extract. It’s like a chocolatey hug that’s about to make everything better.
Set it aside for now, it’ll be the secret sauce to your fudgy cookies.
Whisk the Eggs & Sugars Into Perfection
Now, in a separate bowl, crack your eggs and beat them with the caster sugar and light brown sugar. Use an electric whisk to whip it into a fluffy, airy texture. It’s going to look a little like a sweet, golden cloud.
Keep going until it’s thick and almost tripled in volume. This step makes the cookies puff up and gives them that slightly crackly texture on top.
Mix the Dry Ingredients Together
While your eggs are getting fluffy, sift together the flour, cocoa powder, baking powder, and salt.
Sifting is like a mini workout for the flour, but it helps avoid any clumps and gives your cookies that smooth texture.
Once that’s done, stir in the chocolate chips, because, obviously, more chocolate is never a bad thing.
Fold in the Melted Chocolate
Now for the fun part! Gently fold that melted chocolate and butter mixture into your egg and sugar fluff.
Don’t rush this part, go slow, and mix it in until you have a rich, silky batter. When that’s done, gently fold in your dry ingredients.
Be careful here! The more you mix, the denser the cookies will be. We want just enough mixing to combine everything, but still a bit of fluffiness left.
Scoop & Bake, It’s Cookie Time!
Now grab a spoon or cookie scoop and start dolloping your cookie dough onto the tray. Make sure they’re spaced out, these cookies will spread out a little, so give them room to breathe!
Slide them into your preheated oven and bake for 11-13 minutes. You’ll know they’re done when they’re set on top, but still a tiny bit soft in the center. That’s when they’re at their best!
Let Them Cool (If You Can Wait)
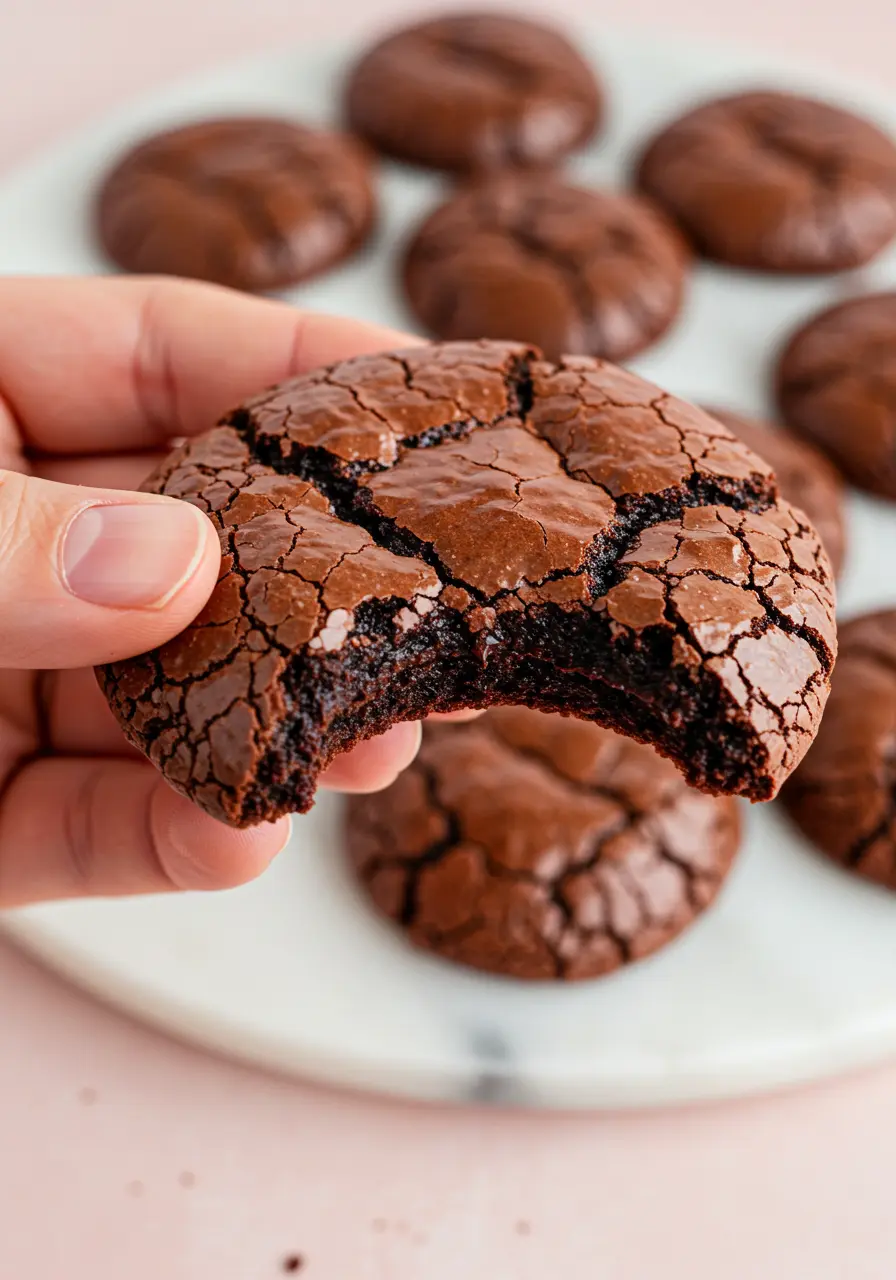
When your cookies come out of the oven, sprinkle a little sea salt on top for that perfect contrast with the sweetness. Let them cool on the tray for about 10 minutes, this is the hardest part.
But trust me, don’t rush it. The waiting game is so worth it. After ten minutes, gently move them to a cooling rack to set. And finally… you’ve earned it, grab a cookie and take a bite!
Save this recipe on Pinterest for later, trust me, you’ll want it!
4 More Mistakes to Avoid
Using Cold Ingredients
This one’s easy to forget! Room temperature ingredients are essential for the right consistency.
If your eggs and butter are too cold, they can cause the batter to clump up or become too stiff. Let them sit out for a bit before you start, trust me, your cookies will thank you for it.
Overmixing the Dough
It’s tempting to mix everything thoroughly, but don’t! Mixing the dough too much can result in heavy, tough cookies.
Gently fold the dry ingredients into the wet ones, just enough to combine, and stop there! You want the dough to stay light and airy for those perfect chewy centers.
Skipping the Sifting
I know, it feels like an extra step, but sifting your dry ingredients is key. It helps avoid any lumps in the cocoa powder and flour, and ensures everything is evenly distributed. You’ll thank me when your cookies have that smooth, melt-in-your-mouth texture!
Using the Wrong Type of Chocolate
Quality matters, especially with chocolate! Don’t skimp on the dark chocolate, go for a good-quality bar, not chocolate chips that are overly processed.
Real chocolate will give you that rich, deep flavor. Plus, if you’re using chocolate chips in the dough, opt for ones that are semi-sweet or bittersweet for that perfect balance of sweetness.
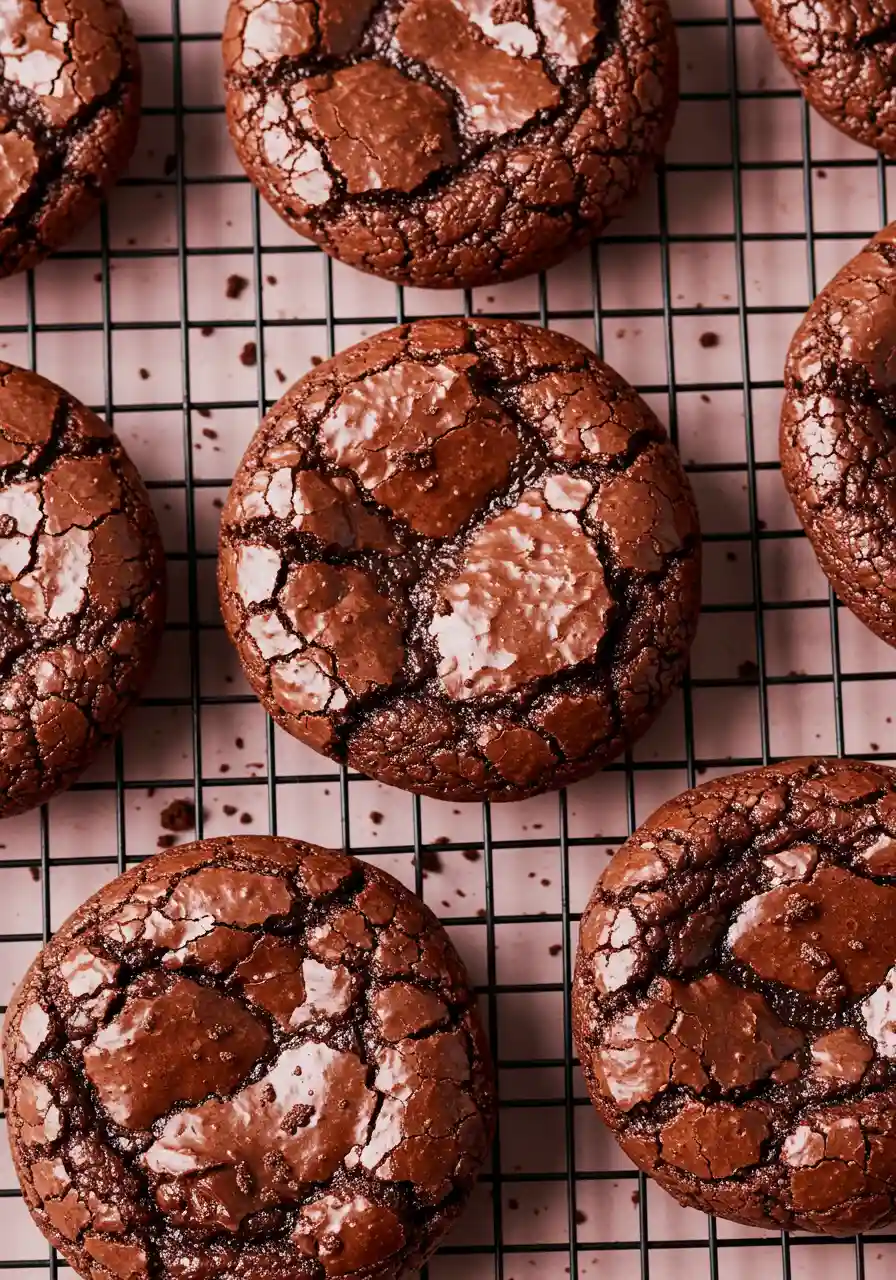
How to Store Your Chocolate Brownie Cookies
- Cool Completely- Let your cookies cool on a wire rack before storing. This keeps them crispy.
- Use an Airtight Container- Store in a container with a tight seal. This keeps them fresh longer.
- Layer with Parchment Paper- If stacking, place parchment paper between layers to prevent them from sticking together.
- Room Temperature Storage- Keep them at room temp for up to 4-5 days. No need to refrigerate!
- Freeze for Later- Want to keep them longer? Store them in an airtight bag and freeze for up to three months.
More Cookies You Love to Share
- Sourdough Chocolate Chip Cookies
- Brown Butter Chocolate Chip Cookies
- White Chocolate Macadamia Nut Cookies
- Banana Oatmeal Cookies
- Gluten-Free Oatmeal Raisin Cookies
Got thoughts on these cookies? Drop a comment below, I’d love to hear what you think!
The Best Chocolate Brownie Cookies (Step by Step)
Some desserts make you pause. You take a bite, close your eyes, and just exist in the moment. That’s exactly what happens when you sink your teeth into these Chocolate Brownie Cookies.
Ingredients
Dry Ingredients:
- 100g (¾ cup + 1 tbsp) all-purpose flour
- 3 tablespoons unsweetened cocoa powder
- ¾ teaspoon baking powder
- ¼ teaspoon salt
Chocolate & Butter:
- 220g (1 ¼ cups) dark chocolate, chopped
- 60g (4 tbsp) unsalted butter
- Wet Ingredients:
- 2 eggs, room temperature
- 90g (⅔ cup) caster sugar
- 100g (½ cup + 1 tbsp) light brown sugar
- 1 ¼ teaspoons vanilla extract
Chocolate Chips:
- 90g (½ cup + 1 tbsp) dark chocolate chips
Instructions
- Preheat the oven to 170ºC (338ºF) for conventional heating. While it's warming up, line a baking tray with parchment paper, you’ll be so glad you did when it's time to clean up!
- In a heatproof bowl, break up the dark chocolate and butter into chunks. Place the bowl over a simmering pot of water, making sure the bowl doesn’t touch the water.
- Stir occasionally until it’s all melted and smooth, then stir in the vanilla extract. Set this chocolatey goodness aside, it’ll bring that rich, fudgy flavor to your cookies.
- In a separate bowl, crack the eggs and beat them with both sugars using an electric whisk. Whisk until it’s light, fluffy, and has almost tripled in volume. This creates the puffiness and crackly top on your cookies.
- Combine the flour, cocoa powder, baking powder, and salt by sifting them together. Sifting gets rid of any lumps and helps the cookies bake evenly. Stir in the chocolate chips!
- Now, gently fold the melted chocolate and butter into the egg mixture. Take your time here, mixing slowly to keep the batter light and smooth.
- Then, carefully fold in the sifted dry ingredients, mixing just until combined to preserve that fluffiness.
- Scoop spoonfuls of dough onto the prepared tray, giving them enough space to spread. Pop them into the oven and bake for 11-13 minutes. The cookies are ready when they’re set on top but still a tiny bit soft in the center.
- Once out of the oven, sprinkle with a pinch of sea salt, then let them cool on the tray for 10 minutes. After that, carefully move them to a cooling rack. And finally, grab one (or two!) and enjoy the magic you’ve just created!
Notes
- Make sure not to overmix the dough, this can make your cookies too dense! Just mix until everything is combined and a little fluffiness remains.
- Be mindful of the spacing when you scoop the dough. If they’re too close, the cookies will spread into each other, so give them room to breathe!
- If your cookies are too soft in the center after baking, don’t worry! Let them cool for a bit, and they’ll firm up perfectly.
Nutrition Information:
Serving Size: 1 cookieAmount Per Serving: Calories: 235Total Fat: 14gSaturated Fat: 8gCholesterol: 55mgSodium: 90mgCarbohydrates: 25gFiber: 2gSugar: 18gProtein: 3g
Nutritional information is provided as a general guideline and is calculated using standard online tools. Variations may occur depending on the specific ingredients and methods used.