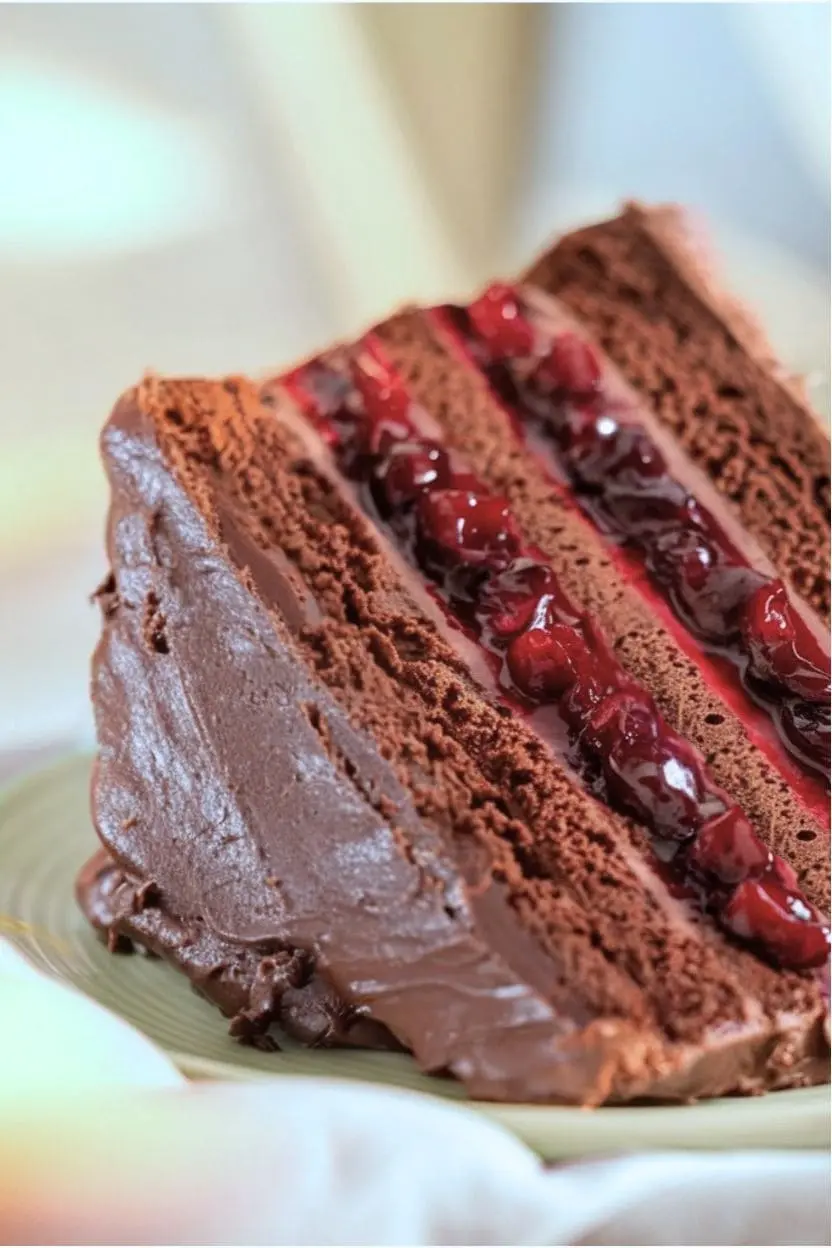
If you’ve been dreaming of a dessert that perfectly balances the richness of chocolate with the sweet, tangy burst of cherries, you’re in for a treat. This chocolate cherry cake isn’t just a recipe, it’s an experience.
Whether you’re celebrating a special moment, showing off your baking skills, or just treating yourself, this cake is sure to wow everyone and satisfy every craving! Its moist layers, glossy cherry filling, and luscious frosting create a show-stopping dessert that’s as beautiful as it is delicious.
Jump to
Ready to bake a masterpiece? Let’s dive in and create the best chocolate cherry cake you’ve ever had.
Why You’ll Love This Chocolate Cherry Cake recipe
The blend of chocolate and cherries creates an enchanting harmony of flavors. The richness of chocolate enhances the tart-sweet flavor of cherries, creating a pairing that’s truly timeless. This recipe is guaranteed to become a favorite, and here’s why:
Moist and Decadent Layers: Thanks to ingredients like buttermilk and oil, the cake layers stay incredibly moist and flavorful.
Glossy Cherry Filling: The cherry filling adds both flavor and a visual “wow” factor, creating beautiful layers that stand out with every slice.
Versatile Appeal: This cake fits any occasion, from birthdays to holiday dinners, or even a weekend indulgence.
Beginner-Friendly: You don’t need to be a professional baker to create a dessert that looks and tastes this good!
Ingredients for the Best Chocolate Cherry Cake
To make this delicious creation, you’ll need the perfect blend of ingredients. Each one plays a vital role in building layers of flavor, texture, and visual appeal.
For the Cake
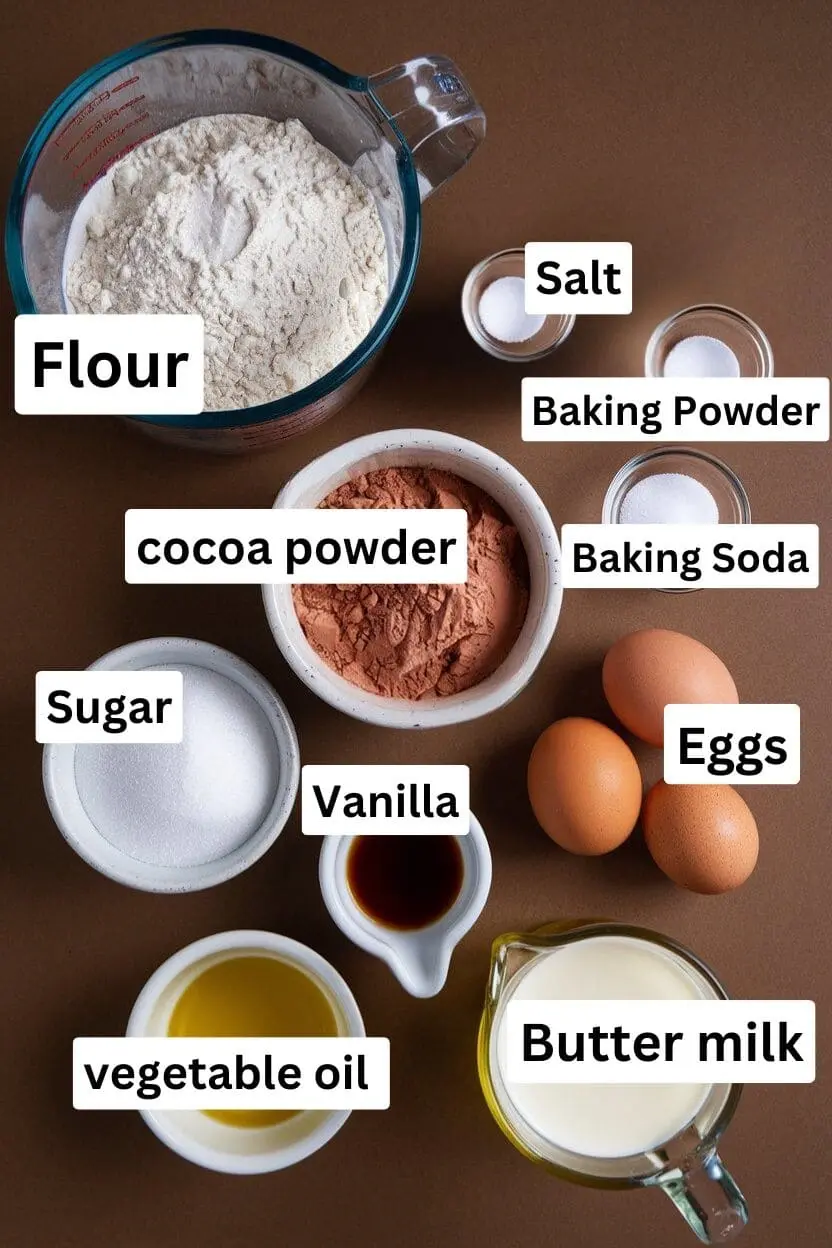
- All-purpose flour: The essential base that gives the cake its structure.
- Unsweetened cocoa powder: Choose a premium cocoa powder to bring out a rich and intense chocolate taste.
- Baking soda and baking powder: These work together to help the cake rise beautifully.
- Salt: Complements the sweetness while amplifying every flavor.
- Granulated sugar: Provides sweetness and moisture.
- Eggs: Hold the ingredients together and provide structure to the cake.
- Buttermilk: Adds tanginess and keeps the cake soft and tender.
- Vegetable oil: Ensures the cake stays moist, even after a couple of days.
- Vanilla extract: Infuses a lovely, cozy warmth that enhances the chocolate, giving it a deep, comforting flavor you’ll love!
For the Cherry Filling
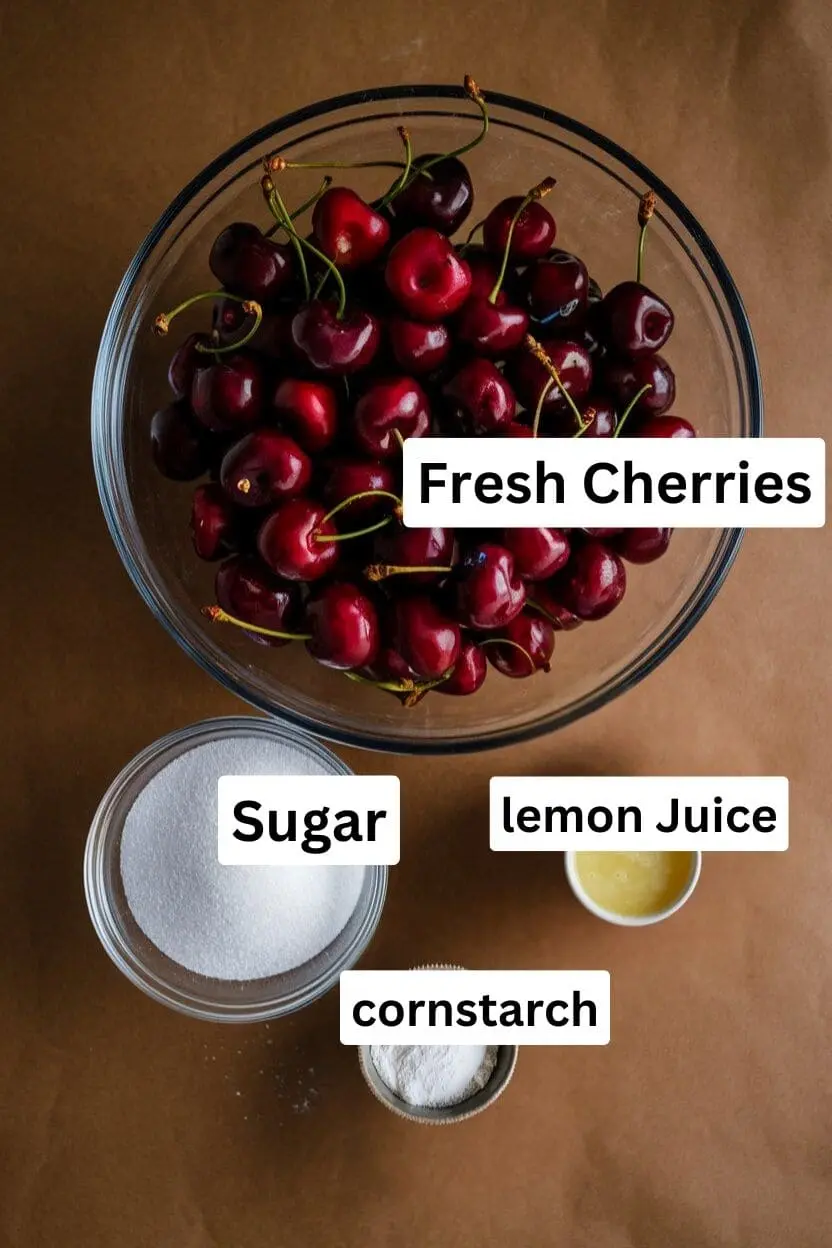
- Cherries (fresh, frozen, or canned): Fresh cherries work best, but frozen or canned cherries will also do the job. For me, am using fresh cherries.
- Granulated sugar: Sweetens the cherries while cooking.
- Cornstarch: Thickens the filling for a glossy, jam-like texture.
- Lemon juice: Brings a hint of brightness that lifts the filling.
For the Frosting
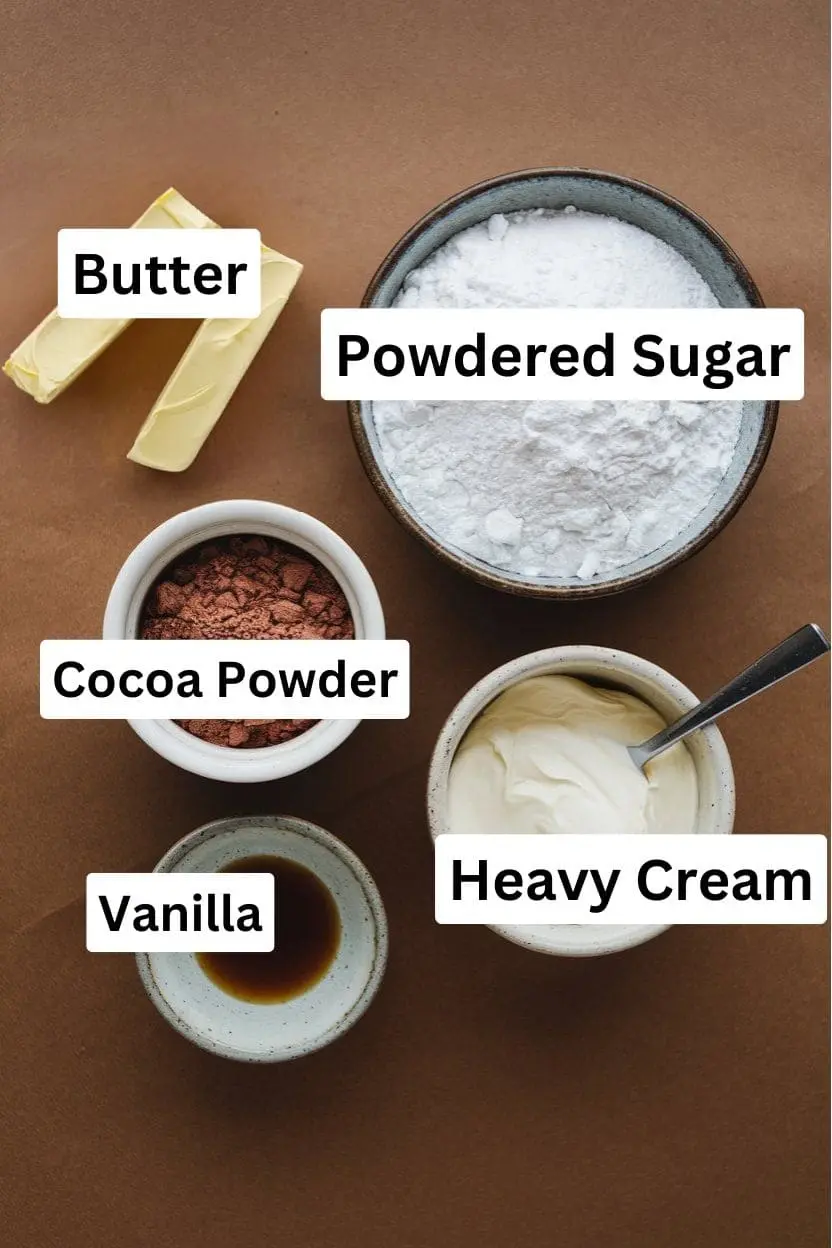
- Unsalted butter: The base of a smooth, creamy frosting.
- Powdered sugar: Sweetens and stabilizes the frosting.
- Unsweetened cocoa powder: Opt for a good-quality cocoa powder to bring out a bold, intense chocolate taste.
- Heavy cream or milk: Adjusts the frosting’s consistency.
- Vanilla extract: Complements the chocolate beautifully.
Optional Garnishes
- Whole cherries: For decoration.
- Cherry sauce: Drizzle for added flair.
- Chocolate ganache: For extra shine and richness.
Note: This is just a quick rundown of the ingredients I used and why, to find all the details and measurements, simply scroll down to the recipe card!
Step-by-Step Guide to Making Chocolate Cherry Cake recipe
Now that you’ve got everything prepped, let’s dive into the fun part, baking your delicious creation! Follow these easy steps to recreate the stunning cake you’ve been dreaming about.
Prepare the Cake Layers
Start by preheating your oven to 350°F (175°C). Grease and line two or three round cake pans with parchment paper. This ensures your cakes pop out easily after baking, no sticking involved!
Mix the Dry Ingredients
Next, grab a big bowl and sift together all your dry ingredients, (flour, cocoa powder, baking soda, baking powder, and salt) so everything’s perfectly blended and ready to go!
Combine the Wet Ingredients
In a different bowl, beat together the sugar, eggs, buttermilk, oil, and vanilla extract until everything is smooth and beautifully mixed.
Bring It All Together
Slowly mix the dry ingredients into the wet ones, stirring gently until they’re just blended. Be careful not to overmix, so your cake stays soft and fluffy! A few small lumps are fine—they’ll bake out perfectly!
Bake the Cakes
Scoop the batter evenly into your prepared pans and smooth out the tops, taking a moment to appreciate how delicious it’s going to be!
Next, pop it in the oven and bake for about 30 minutes, or you can just insert a toothpick in the center, and it should come out clean. Once they’re out, let the cakes cool in the pans for at least 10 minutes.
Trust me, the wait will be totally worth it! Next, gently lift them onto a wire rack to cool completely.
Make the Cherry Filling
Start by giving your cherries a good rinse under cold water to ensure they’re clean and ready to go.
Next, remove the seeds, this is easy to do with a cherry pitter, but if you don’t have one, simply slice the cherries in half and pop out the pits by hand.
Once your cherries are prepped, place them in a saucepan over medium heat, mix the cherries, sugar, and lemon juice, letting them come together as the flavors meld. Cook until the cherries release their juices.
Mix the cornstarch with a little water, then stir it into the cherry blend and give it a few more minutes to cook and thicken up nicely!
Remove the filling from the heat and let it cool before using it to layer the cake.
Prepare the Frosting
A smooth, velvety chocolate frosting is a must for this cake:
Cream the butter: go ahead and beat the butter in a mixing bowl until it’s soft, smooth
Add the Dry Ingredients: Gradually add powdered sugar and cocoa powder, mixing well after each addition.
Adjust the texture: Slowly add heavy cream, one tablespoon at a time, until your frosting is smooth and just the right consistency, with a creamy finish in the center!
Add Vanilla Extract: Stir in the vanilla extract for a hint of sweetness.
Assemble the Cake
Here’s where the real magic begins! It’s time to turn those individual layers into a stunning masterpiece
Place the first cake layer onto your cake stand or serving plate, setting the stage for a delicious masterpiece. Take a moment to make sure it’s centered, this will give your cake that professional touch.
Spread a nice generous dollop of the cherry filling and gently spread it out, stopping just before the edges to prevent it from spilling over.
Continue layering the remaining cake layers, stacking them slowly and with care to keep everything nice and even.
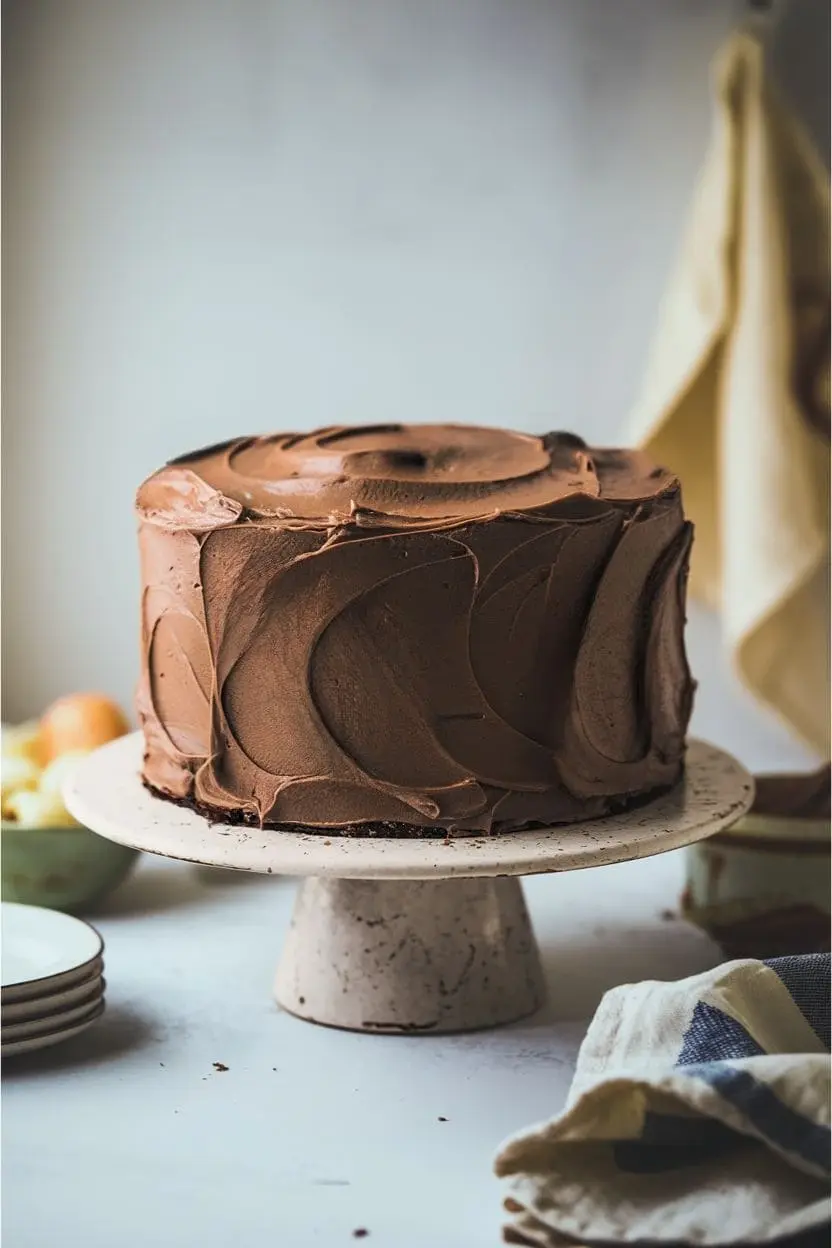
After stacking all the layers, it’s time to coat the cake with a smooth layer of frosting. With an offset spatula in hand, gently smooth the chocolate frosting over the cake, covering both the top and sides evenly.
Don’t worry about perfection, this cake is meant to look lovingly homemade!
For that picture-perfect look, top the cake with a few whole cherries or a sprinkle of chocolate shavings.
Step back and admire your work, it’s a really good right!
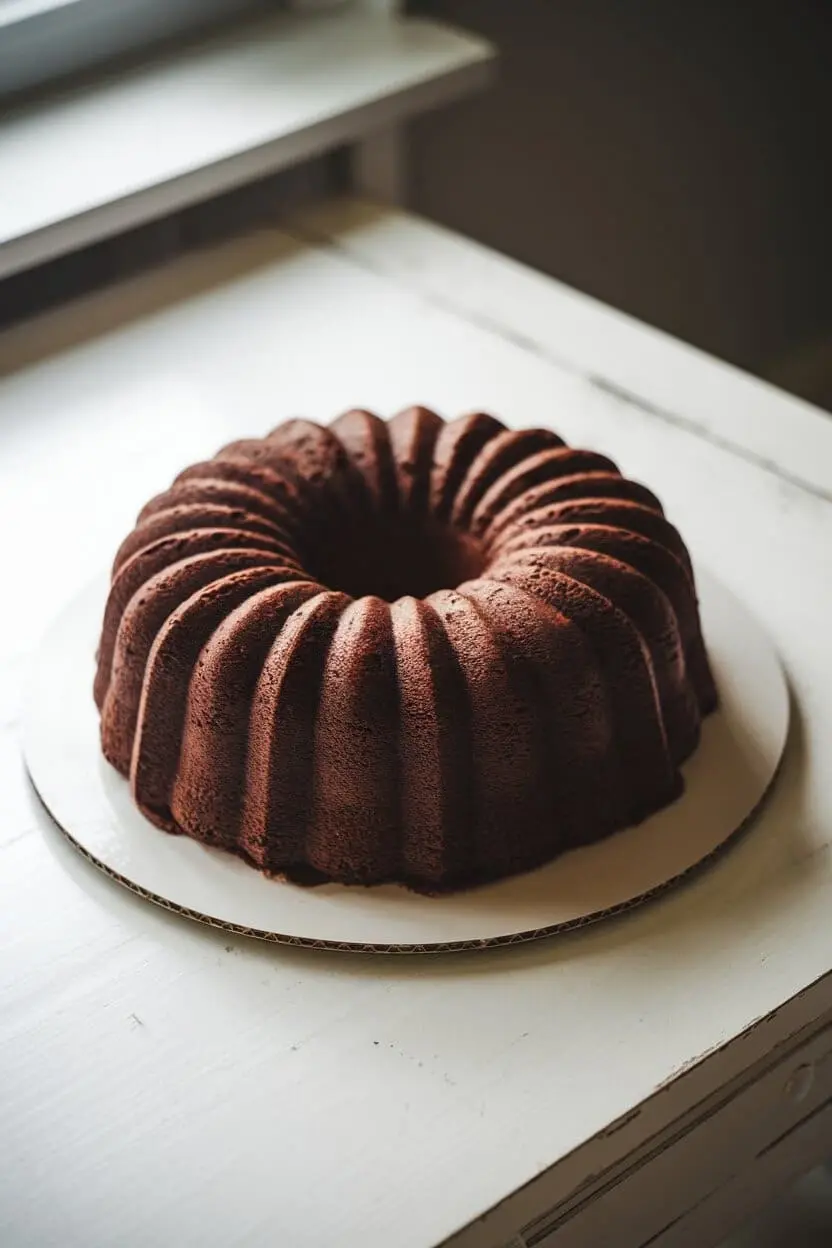
For more chocolatey goodness, be sure to check out my Chocolate Pound Cake Recipe!
Pro Tips for Perfect Results
- Use Room-Temperature Ingredients: This ensures a smooth batter and evenly baked cake.
- Don’t Skip the Parchment Paper: It makes removing the cake layers from the pans a breeze.
- Cool Completely: As tempting as it is to assemble the cake right away, wait until the layers are fully cooled to avoid melting the frosting.
- Adjust Sweetness: Taste your cherry filling and adjust the sugar to suit your preference.
Serving and Storage Suggestions
This cake is amazing whether it’s chilled or at room temp! For an extra treat, add a big scoop of vanilla ice cream or a fluffy dollop of whipped cream on top!
To store, keep the cake in an airtight container at room temperature for up to 2 days or in the refrigerator for up to a week.
If freezing, wrap each slice individually and store for up to 3 months.
Frequently Asked Questions
Can I Use Frozen Cherries?
Absolutely! Thaw the cherries and make sure to drain any extra liquid before adding them to the filling. Canned cherry pie filling can also do the work.
How Can I Make the Cake Gluten-Free?
Swap the all-purpose flour with a 1:1 gluten-free baking blend for a gluten-free version.
What’s the Secret to a Glossy Ganache?
For a shiny finish, add a teaspoon of butter or corn syrup to your ganache while melting the chocolate and cream.
Conclusion
Congratulations, you’ve just unlocked the secret to baking a stunning chocolate cherry cake! From the moist chocolate layers to the glossy cherry filling and rich frosting, this cake is truly a labor of love.
Whether you’re baking it for a special occasion or simply treating yourself, it’s a dessert that promises to impress.
Did you try making this recipe? It will make me so HAPPY if you rate it and share your thoughts in the comments section below!
Thank you 💛

How to Bake the Best Chocolate Cherry Cake
If you’ve been dreaming of a dessert that perfectly balances the richness of chocolate with the sweet, tangy burst of cherries, you’re in for a treat. This chocolate cherry cake isn’t just a recipe, it’s an experience.
Ingredients
Cake Layers
- 2 ½ cups 315 g all-purpose flour
- ¾ cup 75 g unsweetened cocoa powder
- 1 ½ teaspoons baking soda
- 1 teaspoon baking powder
- ½ teaspoon salt
- 2 cups 400 g granulated sugar
- 3 large eggs
- 1 cup 240 ml buttermilk
- ¾ cup 180 ml vegetable oil
- 2 teaspoons vanilla extract
Cherry Filling
- 3 cups 450 g fresh cherries
- ½ cup 100 g granulated sugar
- 1 tablespoon fresh lemon juice
- 1 tablespoon cornstarch mixed with 2 tablespoons water
Chocolate Frosting
- 1 cup 230 g unsalted butter, softened
- 3 ½ cups 450 g powdered sugar, sifted
- ½ cup 40 g unsweetened cocoa powder, sifted
- 4 –6 tablespoons 60–90 ml heavy cream
- 2 teaspoons vanilla extract
Instructions
Prepare the Cake Layers
- Start by preheating your oven to 350°F (175°C). Grease and line two or three round cake pans (two pans) with parchment paper.
- Take a large bowl and begin by sifting together all your dry ingredients—flour, cocoa powder, baking soda, baking powder, and salt—to get them perfectly combined.
- In a different bowl, beat together the sugar, eggs, buttermilk, oil, and vanilla extract until everything is smooth and beautifully mixed.
- Slowly mix the dry ingredients into the wet ones, stirring gently until they’re just blended.
- Evenly pour your batter into your prepared pans and smooth out the tops.
- Next, pop it in the oven and bake for about 30 minutes, or you can just insert a toothpick in the center, and it should come out clean. Once baked, allow the cakes to cool in the pans for a minimum of 10 minutes. Gently move the cakes to a wire rack and allow them to cool completely before proceeding.
Make the Cherry Filling
- Wash the cherries well under cold water, then remove the pits using a cherry pitter. Place the cherries in a saucepan with sugar and a tablespoon of fresh lemon juice. Heat them by stirring occasionally, until they release their juices.
- grab your cornstarch (mixed with little water), then stir it into the cherries. Continue cooking, stirring constantly, until the mixture thickens to a smooth consistency.
- Let the filling cool completely before layering the cake.
Prepare the Frosting
- go ahead and beat the butter in a mixing bowl until it’s soft, smooth
- Slowly add the cocoa powder and powdered sugar, ensuring they are well mixed after each addition.
- Slowly add heavy cream, a tablespoon at a time, mixing until the frosting is smooth and creamy.
- Blend in the vanilla extract.
Assemble the Cake
- Place the first cake layer onto your cake stand or serving plate, setting the stage for a delicious masterpiece.
- Spread a generous dollop of the cherry filling and gently spread it out.
- Continue layering the remaining cake layers, stacking them slowly and with care to keep everything nice and even.
- After stacking all the layers, with an offset spatula in hand, gently smooth the chocolate frosting over the cake, covering both the top and sides evenly.
- Top the cake with whole cherries or a sprinkle of chocolate shavings if you want. Step back and admire your work.
Notes
- Use Room-Temperature Ingredients: This ensures a smooth batter and evenly baked cake.
- As tempting as it is to assemble the cake right away, wait until the layers are fully cooled to avoid melting the frosting.
- To store, keep the cake in an airtight container at room temperature for up to 2 days or in the refrigerator for up to a week. If freezing, wrap each slice individually and store for up to 3 months.
- For a shiny finish, add a teaspoon of butter or corn syrup to your ganache while melting the chocolate and cream.
Nutrition Information:
Serving Size: 1 sliceAmount Per Serving:Calories: 776Total Fat: 35gCarbohydrates: 106gProtein: 6g
Nutritional information is provided as a general guideline and is calculated using standard online tools. Variations may occur depending on the specific ingredients and methods used.

