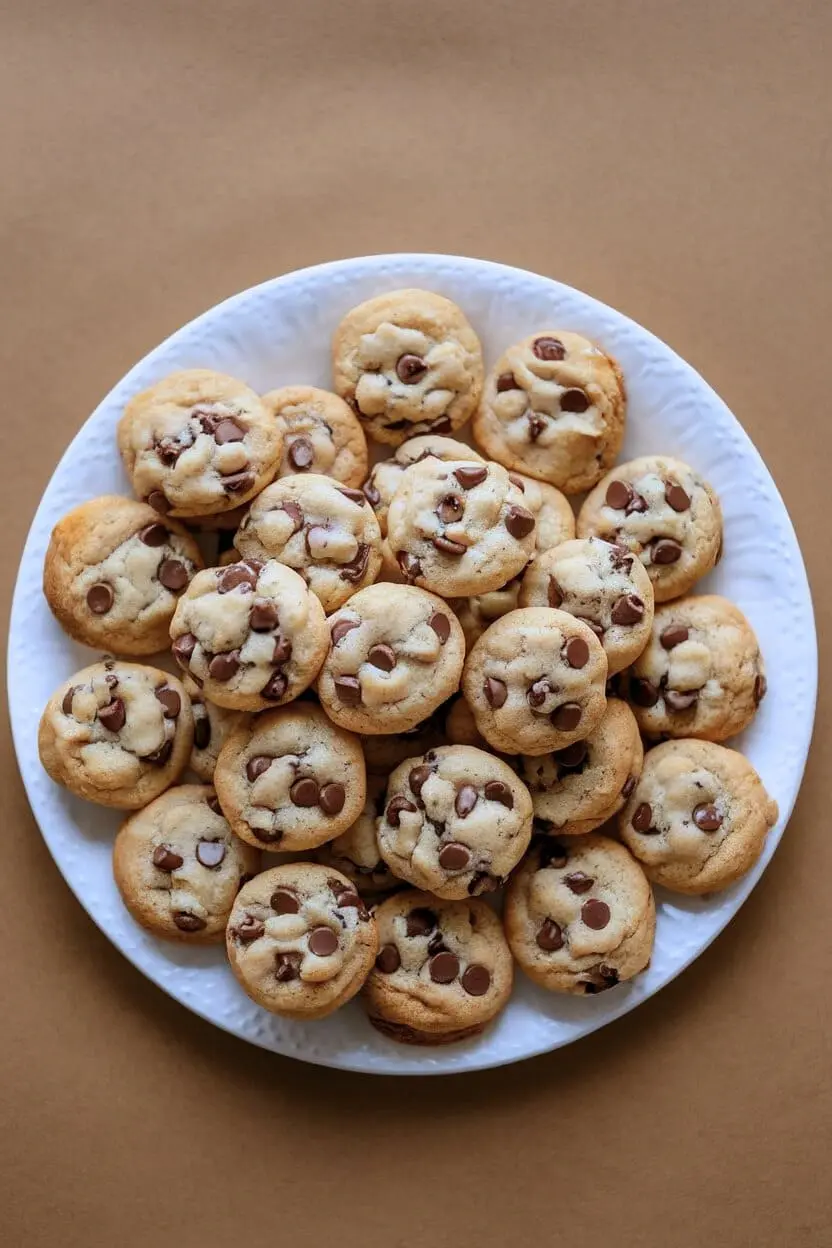
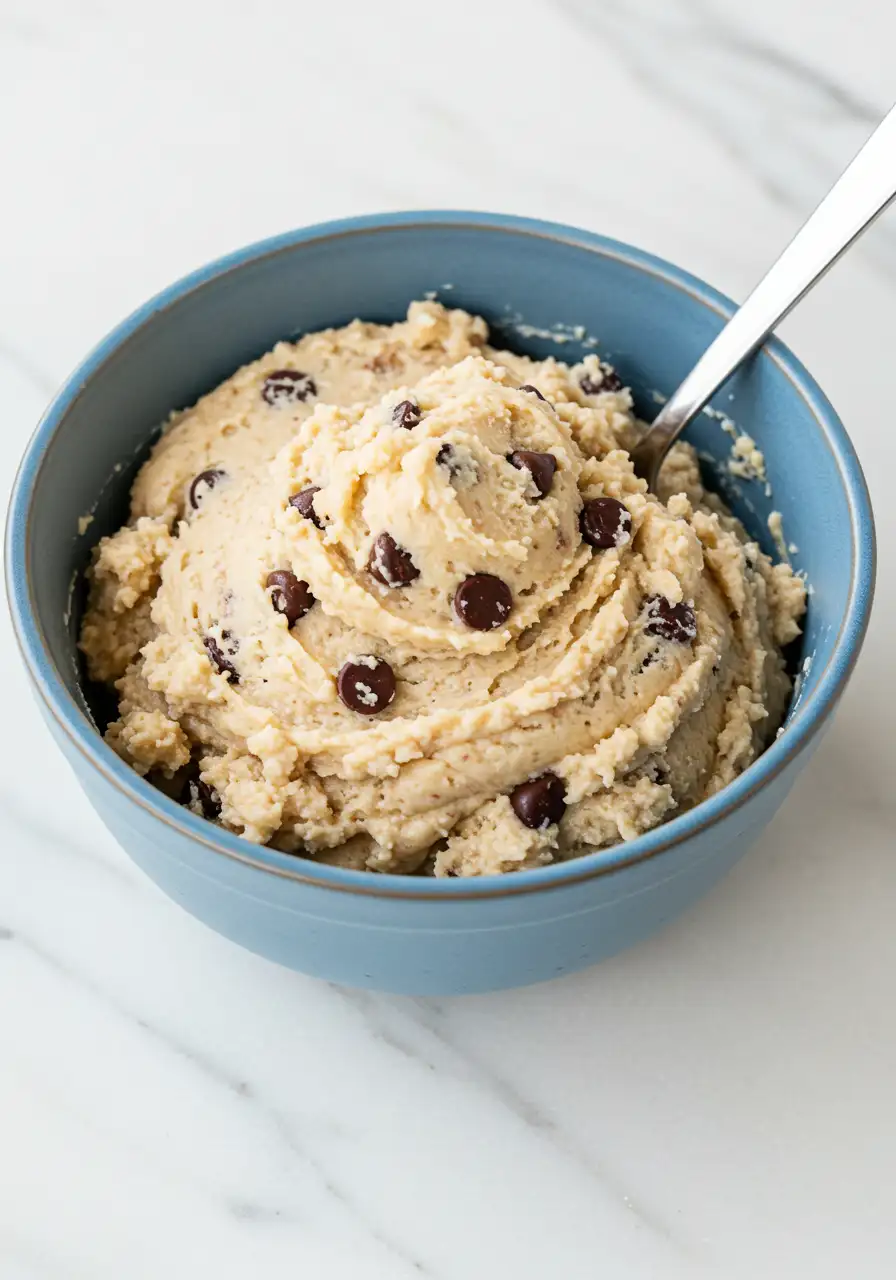
Mini chocolate chip cookies are one of those timeless treats that bring comfort, joy, and a little sweetness to your day. Whether you’re baking for a special occasion, preparing a simple snack, or just craving something homemade, these cookies are the perfect choice.
Jump to
But what makes mini chocolate chip cookies so irresistible? In this article, we’ll walk you through everything you need to know to make the best mini chocolate chip cookies that are both easy to prepare and absolutely delicious.
From understanding the key ingredients to tips for getting the perfect texture, you’ll be a mini cookie pro in no time!
Why Mini Chocolate Chip Cookies Are the Perfect Treat
Mini chocolate chip cookies are not just small versions of their regular counterparts, they offer a whole new experience. The smaller size makes them incredibly versatile and perfect for so many occasions. Here’s why you should give mini cookies a try:
1. Perfect for Snacking
The smaller size makes them perfect for those little moments when you crave something sweet but don’t want to overindulge. You can enjoy a few without feeling guilty, making them a great snack for both kids and adults.
2. Great for Sharing
Whether you’re hosting a party, a family gathering, or bringing a treat to work, mini cookies are ideal for sharing. Their bite-sized nature means everyone gets a taste, and there’s no need to worry about cutting cookies into perfect portions.
3. Faster Baking Time
Since these cookies are smaller, they bake in a fraction of the time compared to regular-sized cookies. You can go from mixing ingredients to enjoying fresh cookies in less than 10 minutes, perfect for those days when you need a quick sweet fix.
4.Cute and Fun:
Mini cookies are more visually appealing and fun to make, especially when baking with kids. The smaller size allows for experimenting with shapes and toppings.
The Key Ingredients for Perfect Mini Chocolate Chip Cookies
The beauty of mini chocolate chip cookies lies in their simplicity. The ingredients are easy to find, and when combined, they create the perfect balance of flavor and texture. Let’s take a look at the ingredients you’ll need for these delicious cookies.
Quick Rundown of the Ingredients
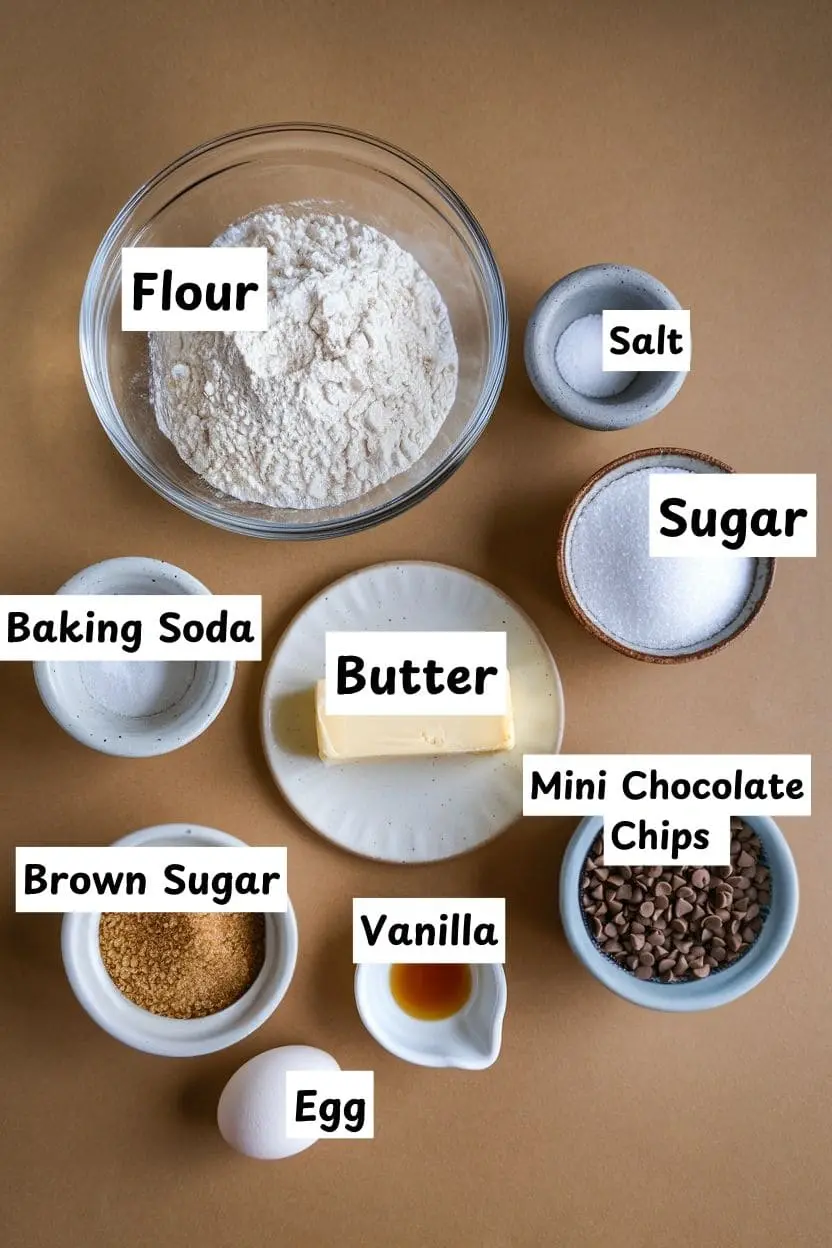
- All-purpose flour: Flour is the foundation of your cookie dough. It gives the cookies structure and texture.
- Baking soda: This is your leavening agent. It helps the cookies rise and become light and chewy.
- Salt: Just a pinch of salt helps balance the sweetness of the cookies and enhances the flavors.
- Unsalted butter: Butter adds richness and flavor. Choosing unsalted butter allows you to adjust the salt level to your liking.
- Granulated sugar: This provides the sweetness that everyone loves.
- Brown sugar: helps keep the cookies chewy and adds a subtle caramel flavor (don’t skip it out!)
- Vanilla extract: adds a warm, sweet aroma that’s key to achieving that classic, comforting cookie flavor.
- Eggs: help hold the dough together while adding moisture for a soft texture.
- Mini chocolate chips: The star ingredient! The tiny chips deliver the ideal harmony of chocolate and cookie in every bite.
Step-by-Step Instructions for Baking Mini Chocolate Chip Cookies
Making mini chocolate chip cookies is easier than you think! You just need to follow these easy steps, and you’ll have fresh cookies ready in no time.
1. First important step is preheating your oven
Start by preheating your oven to 350°F (175°C). then while the oven heating up, go ahead and line your baking sheets with parchment paper. This keeps the cookies from sticking and ensures they bake evenly.
2. Whisk the Dry Ingredients Together
Start by whisking these ingredients all together [all-purpose flour, baking soda, and salt] In a medium bowl.
This step is crucial as it helps evenly distribute the baking soda and salt throughout the flour, ensuring your cookies rise evenly and have a consistent flavor.
Plus, it helps prevent any clumps from forming, so your dough will be smooth and easy to mix.
3. Cream the Butter and Sugars
Now, grab your bowl, I recommend using an electric mixer in this, so you can beat the softened butter, granulated sugar, and brown sugar together until the mixture is light and fluffy.
This process should take about 2 minutes, and the more you beat it, the airier and fluffier your cookies will be. You’ll notice the texture change from heavy to light and smooth, this is exactly what you want, as it helps create a tender, melt-in-your-mouth cookie.
4. Add the Egg and Vanilla Extract
Once your butter and sugars are perfectly creamed, it’s time to add the egg and vanilla extract.
Beat these into the mixture until everything is fully incorporated and smooth. The egg will help bind the dough, while the vanilla extract will add that irresistible, comforting flavor.
At this point, your dough should start to come together nicely, taking on a slightly thicker consistency.
5. Bring Wet and Dry Ingredients Together
Now, slowly add your dry ingredients to the wet mixture, and start stirring gently as you go. Keep mixing until everything is just combined. Be careful not to overmix, mixing too much can lead to cookies that are dense or tough.
Mix just until the flour is fully incorporated, leaving you with a smooth and even dough. You should still see a soft, slightly sticky dough that will hold its shape when scooped.
6. Fold in the Mini Chocolate Chips
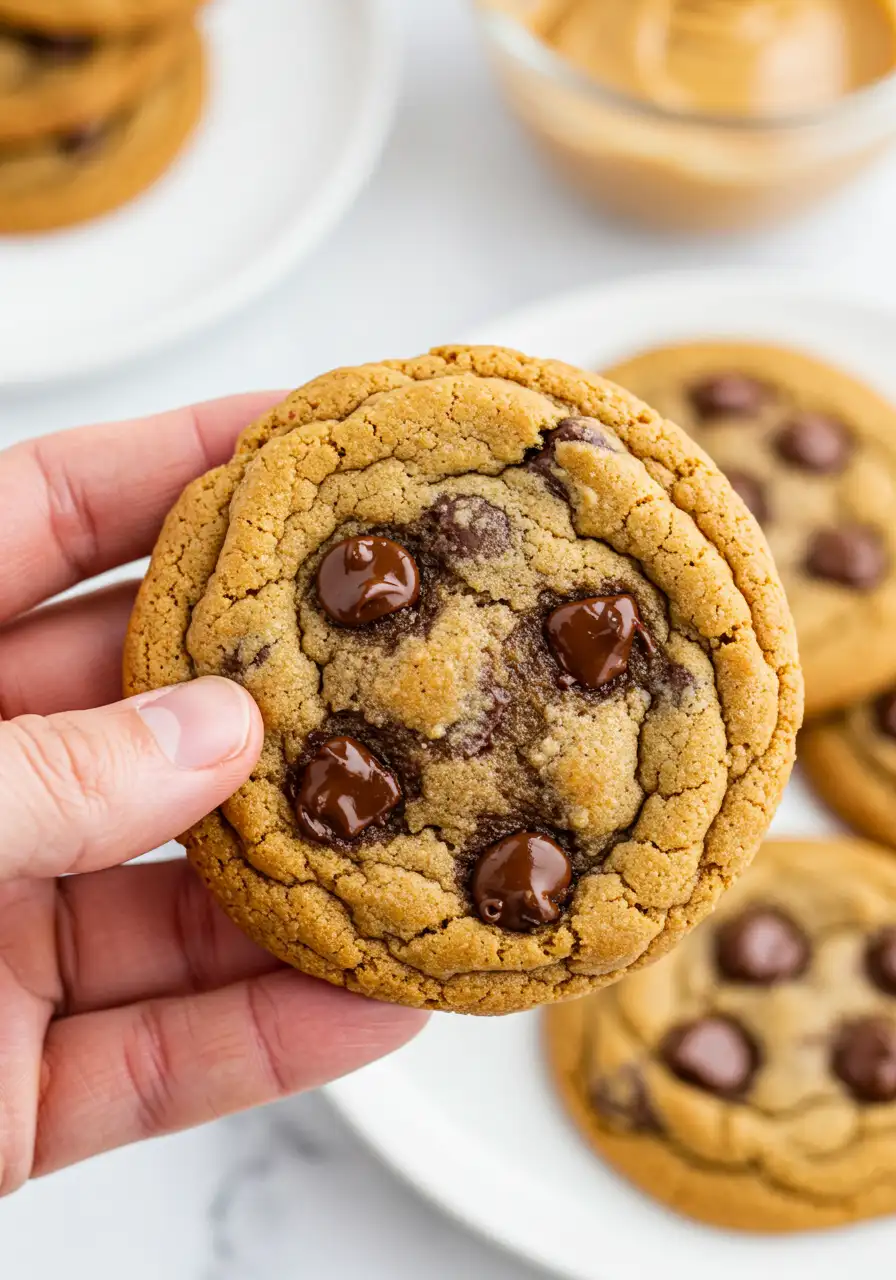
Carefully fold in the mini chocolate chips with a spatula, making sure they’re evenly spread throughout the dough. Take your time to ensure the chips are evenly spread throughout the dough, so each cookie will have a perfect amount of chocolate in every bite.
The goal is to incorporate the chips without overmixing, which helps keep your dough light and soft. It’s always fun to see those little chocolate morsels getting mixed in. I promise, the end result will be absolutely delicious!
7. Scoop and Bake
Grab a small cookie scoop or a teaspoon and scoop out tablespoon-sized portions of dough, dropping them onto your prepared baking sheets.
Make sure to leave about 2 inches of space between each cookie, this gives them room to spread out a bit as they bake. Place your baking sheets into the oven and let them bake for about 8 minutes, or until the edges turn a beautiful golden brown.
Once they’re done, let them sit on the baking sheets for a few minutes to firm up. Then, transfer the cookies to a wire rack to cool completely (if you can wait that long without sneaking a bite!).

My tips for Baking the Perfect Mini Chocolate Chip Cookies
Making perfect mini chocolate chip cookies is all about the little details. Here are some expert tips to help you elevate your cookie game.
Chill the Dough for Extra Chewy Cookies
If you have a bit more time, chilling the dough for 30 minutes to an hour before baking can make a huge difference. Chilled dough prevents the cookies from spreading too much, resulting in thicker, chewier cookies.
Don’t Overbake
Mini cookies bake quickly, and they can go from perfectly baked to overdone in just a minute. Begin checking your cookies around the 7-minute mark. Once the edges are golden brown and the centers are slightly set, it’s time to pull them out.
Use High-Quality Chocolate Chips
The quality of your chocolate chips matters. Opt for mini chocolate chips made with real cocoa butter, as they’ll melt better and taste richer in your cookies.
Customize with Add-ins
Feel free to get creative with your mini chocolate chip cookies! Add in some chopped nuts (walnuts, pecans, or almonds), shredded coconut, or even a sprinkle of sea salt on top before baking for added flavor and texture.
Common Issues and How to Fix Them
Cookies Are Too Flat
If your cookies are turning out flat rather than thick and chewy, try these tips:
Add More Flour: If the dough is too thin, adding a little extra flour can help. Add a tablespoon at a time, mixing until you achieve a thicker dough.
Don’t Overmix the Dough: Overmixing the dough after adding the flour can cause the cookies to be thin and tough. You need to Mix until just combined for the best results.
Cookies Are Sticking to the Pan
If your cookies are sticking to the baking sheet, it can be frustrating. Here’s how to avoid that:
Use Parchment Paper or Silicone Mats: These provide a non-stick surface, making it easier to remove your cookies without breaking them.
Grease the Pan: If you don’t have parchment paper or a silicone mat, make sure to grease your baking sheet with butter or non-stick spray before placing the cookie dough on it.
FAQ About Mini Chocolate Chip Cookies
Can I make these cookies vegan?
Yes, you can easily make these cookies vegan by swapping the egg for a flax egg and using plant-based butter. Vegan chocolate chips will complete the substitution.
Why are my cookies turning out too soft or underbaked in the center?
Baking mini cookies for an extra minute or two can significantly improve their texture, as they tend to bake quickly. Adjusting your time based on your oven’s performance will ensure perfect results.
Is it okay to use regular chocolate chips instead of mini ones?
Yes, you can! However, mini chocolate chips are ideal for this recipe because they distribute more evenly throughout the dough, creating a better balance of chocolate in each bite. If you use regular-sized chips, you might want to slightly reduce the amount to ensure the cookies don’t become too chocolaty
Conclusion
There you have it! Mini chocolate chip cookies are the perfect combination of convenience, taste, and nostalgia. Whether you’re whipping up a batch for a family get-together or enjoying a quiet afternoon snack, these cookies are sure to hit the spot. With simple ingredients, quick steps, and a few expert tips, you’ll be making the best mini chocolate chip cookies in no time.
The Best Mini Chocolate Chip Cookies: Easy and Tasty
Ingredients
- 1 ¾ cups 220g all-purpose flour
- ½ teaspoon baking soda
- ¼ teaspoon salt
- ½ cup 1stick unsalted butter softened
- ½ cup 100g granulated sugar
- ¼ cup 50g brown sugar, packed
- 1 large egg
- 1 teaspoon vanilla extract
- 1 cup 170g mini chocolate chips
Instructions
- Start by preheating your oven to 350°F (175°C). Then while the oven is heating up, go ahead and line your baking sheets with parchment paper. This keeps the cookies from sticking and ensures they bake evenly.
- Whisk these ingredients all together [all-purpose flour, baking soda, and salt] In a medium bowl.
- Now, grab your bowl, I recommend using an electric mixer in this, so you can beat the softened butter, granulated sugar, and brown sugar together until the mixture is light and fluffy. This process should take about 2 minutes, and the more you beat it, the airier and fluffier your cookies will be. You'll notice the texture change from heavy to light and smooth.
- Once your butter and sugars are perfectly creamed, it’s time to add the egg and vanilla extract.
- Beat these into the mixture until everything is fully incorporated and smooth. At this point, your dough should start to come together nicely, taking on a slightly thicker consistency.
- Now, slowly add your dry ingredients to the wet mixture, and start stirring gently as you go. Keep mixing until everything is just combined.
- Mix just until the flour is fully incorporated. You should still see a soft, slightly sticky dough that will hold its shape when scooped.
- Carefully fold in the mini chocolate chips with a spatula, making sure they’re evenly spread throughout the dough, so each cookie will have a perfect amount of chocolate in every bite.
- Grab a small cookie scoop or a teaspoon and scoop out tablespoon-sized portions of dough.
- Make sure to leave about 2 inches of space between each cookie, this gives them room to spread out a bit as they bake.
- Place your baking sheets into the oven and let them bake for about 8 minutes, or until the edges turn a beautiful golden brown.
- Once they’re done, let them sit on the baking sheets for a few minutes to firm up. Then, transfer the cookies to a wire rack to cool completely (if you can wait that long without sneaking a bite!).
Notes
- If you have a bit more time, chilling the dough for 30 minutes to an hour before baking can make a huge difference. Chilled dough prevents the cookies from spreading too much, resulting in thicker, chewier cookies.
- Begin checking your cookies around the 7-minute mark. Once the edges are golden brown and the centers are slightly set, it’s time to pull them out.
- The quality of your chocolate chips matters, opt for mini chocolate chips made with real cocoa butter.

