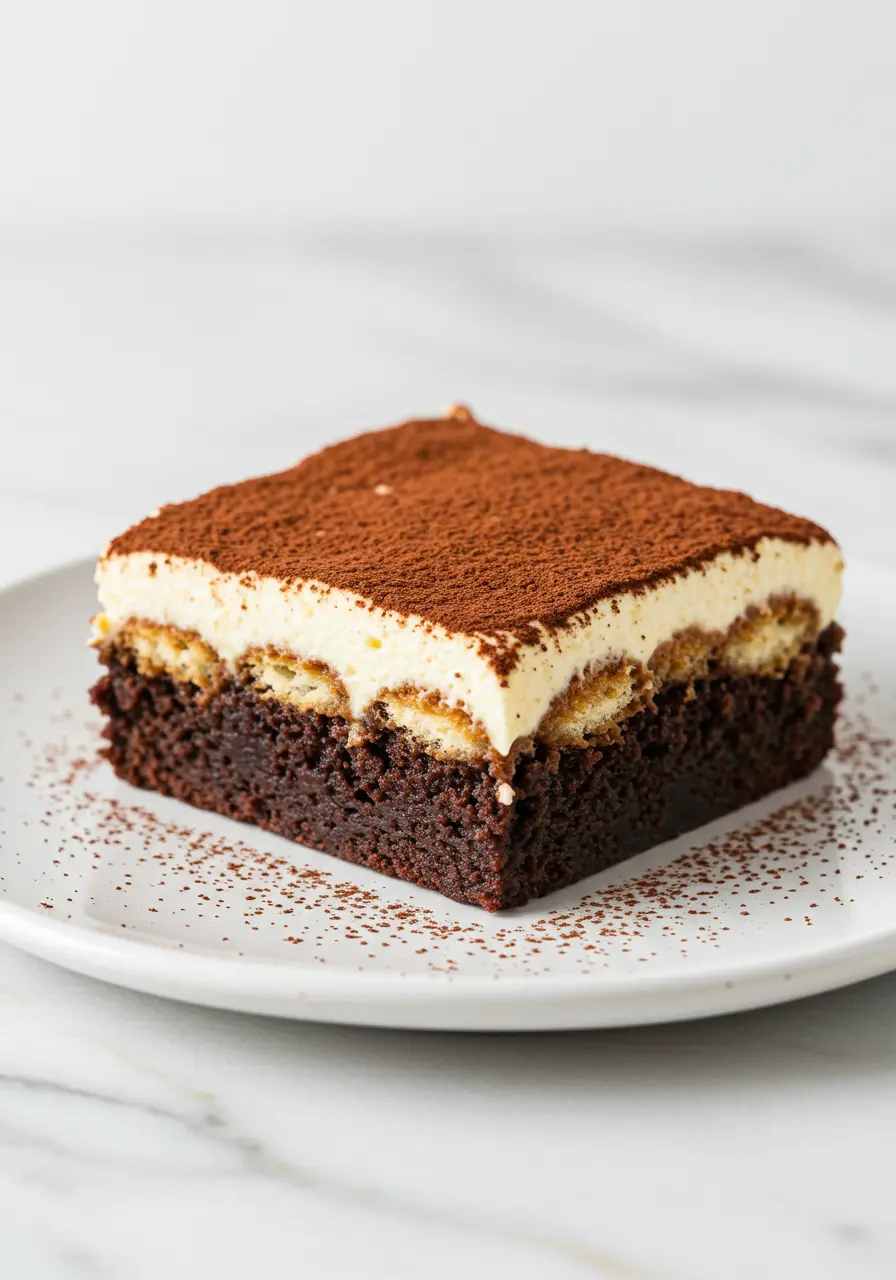
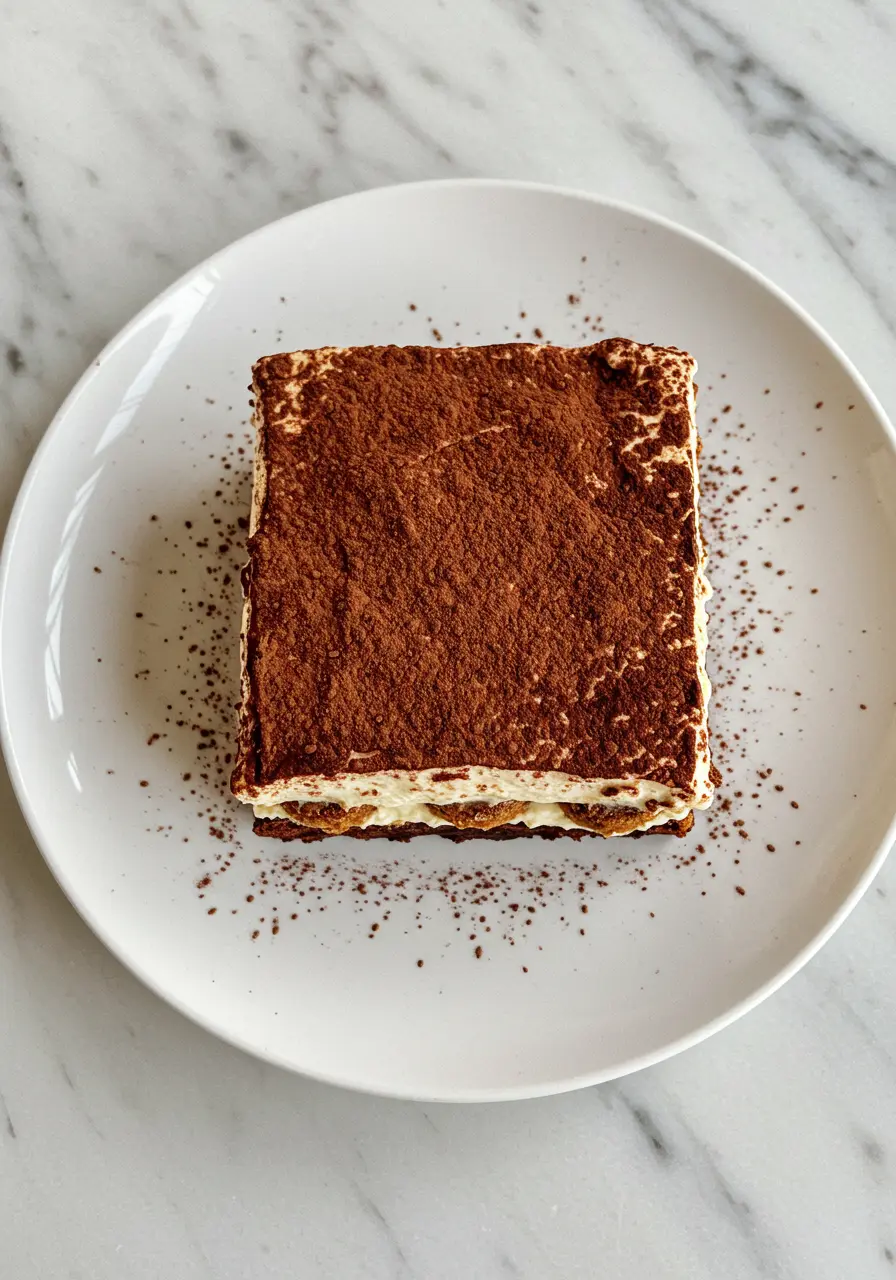
If you love Tiramisu Brownies, get ready to fall head over heels for this dreamy dessert. Imagine the rich, fudgy goodness of brownies layered with coffee-soaked ladyfingers and a velvety mascarpone topping, basically, the best of both worlds.
It’s like your favorite tiramisu and a classic brownie had the most delicious love child.
I actually stumbled upon this idea while scrolling through Pinterest one evening, looking for new ways to combine my two favorite desserts.
A gorgeous photo of a brownie tiramisu caught my eye, and I couldn’t stop thinking about it.
The problem? Most recipes just layered tiramisu cream over a brownie base, but I wanted something more, something that truly captured the essence of both desserts.
So, I got to work in my kitchen, tweaking and testing until I created the perfect Tiramisu Brownies Recipe. And trust me, this version is next-level.
The deep cocoa flavor of the brownies, the espresso-kissed ladyfingers, and the silky mascarpone layer? Absolute perfection. And the best part? It’s incredibly easy to make. No fancy baking skills needed, just simple steps to layer, chill, and enjoy.
Jump to
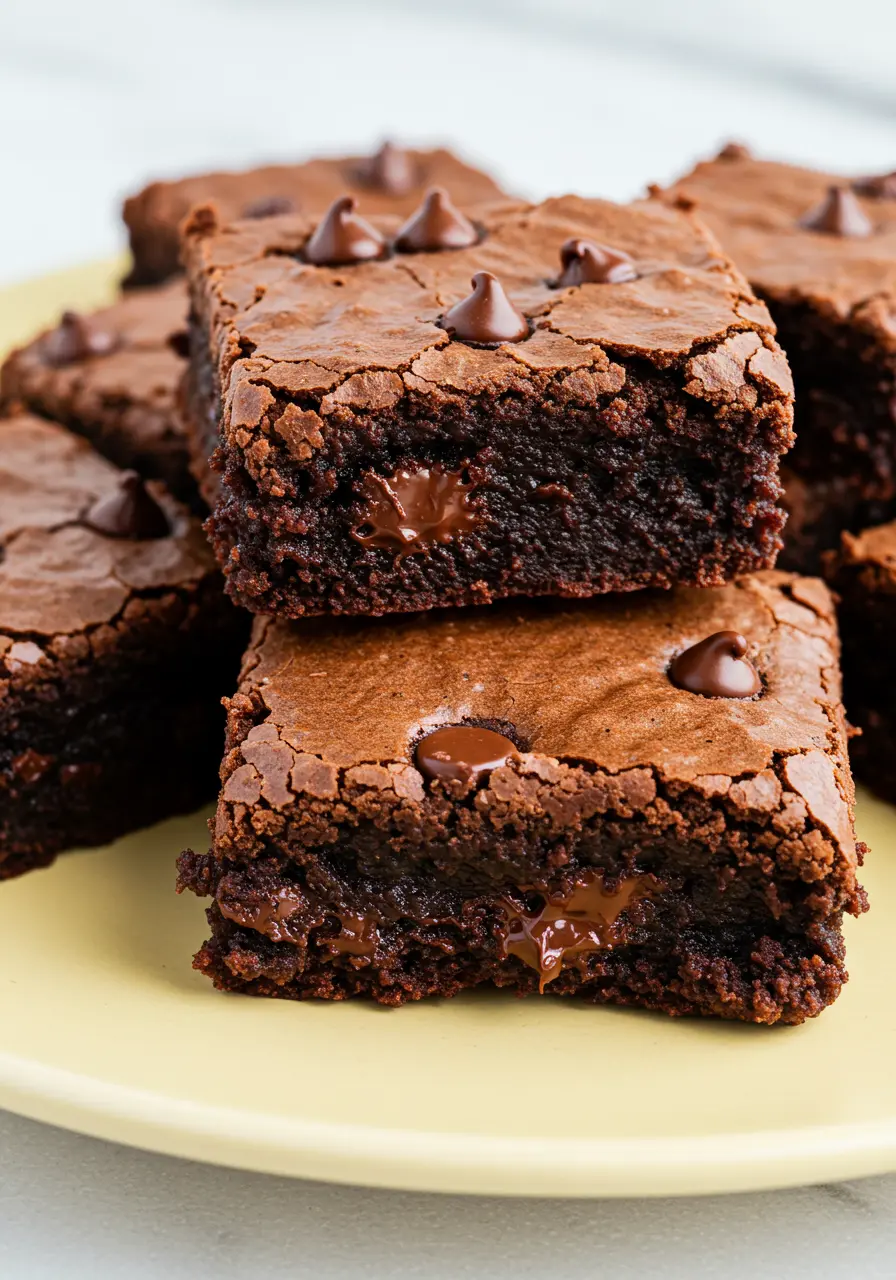
If you’re a chocoholic like me, you have to check out my Double Decker Chocolate Fudge Brownie next, it’s the ultimate chocolate lover’s dream!
The Ingredients You’ll Need
- Dark or Semi-Sweet Chocolate- Rich, smooth, and packed with deep cocoa flavor, dark chocolate gives the brownie base its indulgent texture and intensity.
- Natural Cocoa Powder- This adds a rich, chocolatey depth to the brownie, helping to enhance the overall flavor without overwhelming the sweetness.
- Unsalted Butter- Butter gives the brownies a fudgy, moist texture, making them perfectly dense and rich while letting the other flavors shine.
- Eggs- Eggs help bind the ingredients together, providing structure and a soft, tender crumb in the brownie base.
- Granulated Sugar- The primary sweetener that balances the bitter chocolate, adding sweetness and moisture to the brownies.
- Brown Sugar- Brown sugar brings a touch of caramel flavor and extra moisture to the brownies, contributing to their chewy texture.
- All-Purpose Flour- Flour provides structure to the brownies, ensuring they bake up thick and fudgy without becoming too cakey.
- Mascarpone Cheese- The creamy, tangy base of the tiramisu layer, mascarpone creates that smooth, luscious topping that perfectly contrasts with the brownies.
- Whipping Cream- Heavy whipping cream adds richness and helps the mascarpone cream become thick and fluffy, making it light and indulgent.
- Powdered Sugar- Powdered sugar sweetens the mascarpone cream and gives it the perfect smooth texture for spreading.
- Vanilla Extract- A hint of vanilla enhances the flavor of the mascarpone cream, adding warmth and depth to the dessert.
- Espresso Powder- Espresso powder intensifies the coffee flavor, giving the ladyfinger soak a rich, aromatic kick that ties the tiramisu theme together.
- Hot Water- Used to dissolve the espresso powder and create a smooth, flavorful soak for the ladyfingers without making them too soggy.
- Coffee Liqueur- Coffee liqueur deepens the coffee flavor, adding a slight boozy kick that’s totally optional but absolutely delicious.
- Ladyfinger- These light, airy cookies soak up the espresso mixture perfectly, providing a layer of lightness and texture that’s essential to this tiramisu-inspired treat.
Note: This is just a quick rundown of the ingredients I used and why, to find all the details and measurements, simply scroll down to my recipe card!
How to Make Tiramisu Brownies
Start with the Brownie Base
First things first, let’s get that decadent brownie base ready. Melt your dark chocolate and butter together, just pop them in a heatproof bowl and either melt them over a pot of simmering water or use the microwave for about 30 seconds at a time.
Stir until everything is smooth and glossy. You’ll want to let it cool down a little so it doesn’t cook your eggs next.
While the chocolate and butter are cooling, grab your eggs, sugar, and brown sugar. Whisk them together until they’re nice and fluffy.
This step helps the brownies have that perfect texture, so don’t rush it. Now, gently stir in your cooled chocolate-butter mixture.
Next, sift in your cocoa powder and flour. Take a moment to make sure there are no lumps, because we want the batter to be silky. Gently fold everything together until you see no streaks of flour.
Be careful not to overmix, this keeps your brownies from getting too dense.
Pour the brownie batter into a greased 9×9-inch pan (line it with parchment paper if you like easy cleanup).
Bake at 350°F for 25-30 minutes, or until a toothpick comes out with just a few moist crumbs clinging to it.
Allow your brownies to fully cool while remaining in the pan. You don’t want to rush this part, trust me, it’ll make assembling much easier!
Whip Up the Mascarpone Cream
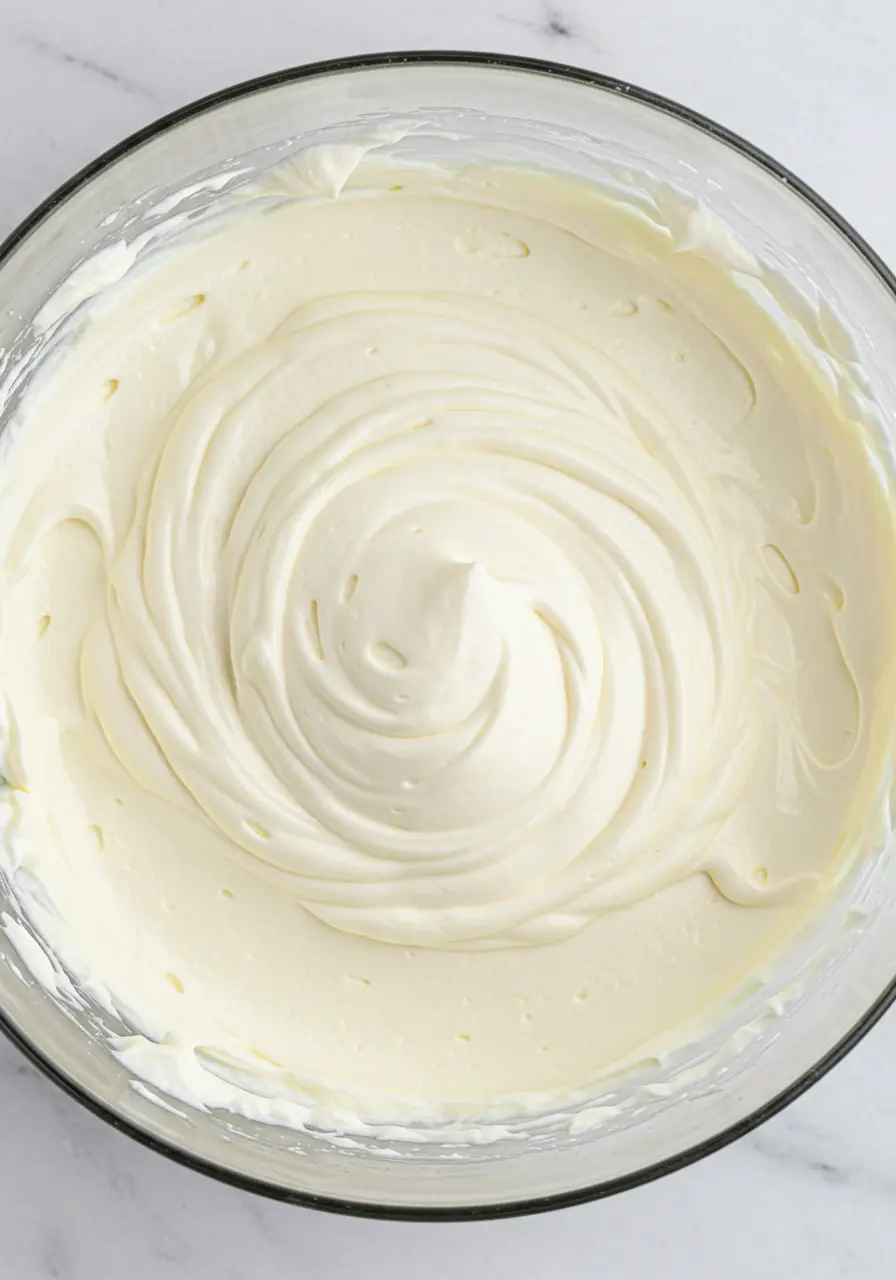
While your brownies are cooling, it’s time to make the mascarpone cream. Beat your cold mascarpone cheese and whipping cream together until they form soft peaks, this could take about 2-3 minutes.
Then, add in the powdered sugar and vanilla extract, and beat it all together until smooth. You’re looking for a fluffy, spreadable texture that will sit beautifully on top of your brownies.
Prepare the Ladyfinger Soak
Now, let’s add that classic tiramisu flair. In a shallow dish, dissolve your espresso powder in hot water. Stir it well until the espresso is fully dissolved and the mixture is smooth.
If you’re using coffee liqueur or rum, add it now. This is where the magic happens.
You want a strong coffee flavor that’ll soak right into the ladyfingers, so be generous but not over-soak them! Dip each ladyfinger into the coffee mixture for just a moment, don’t let them get too soggy, you want them to hold their shape.
Assemble Your Tiramisu Brownies
Once your brownies are completely cooled, it’s time to layer it all together. Start by arranging the dipped ladyfingers over the top of the brownies.
Then, spread the mascarpone cream generously over the ladyfingers.
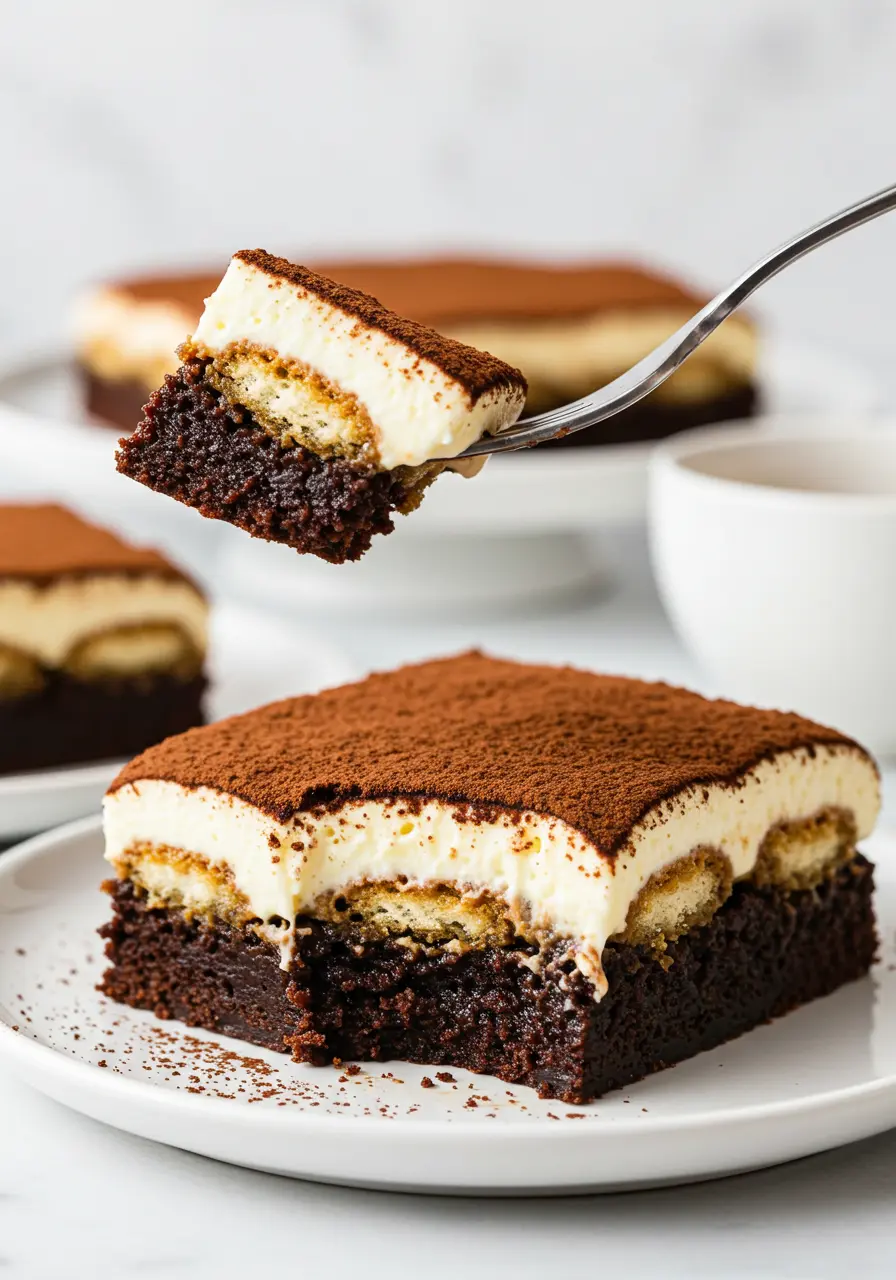
Smooth it out so that each bite has the perfect combination of fudgy brownie, coffee-soaked ladyfingers, and creamy mascarpone.
Chill and Serve
Pop your layered tiramisu brownies into the fridge and let them chill for at least 1 hour.
This will help the flavors blend harmoniously while allowing the cream to firm up. Once you’re ready to serve, dust the top with a little cocoa powder for that classic tiramisu finish.
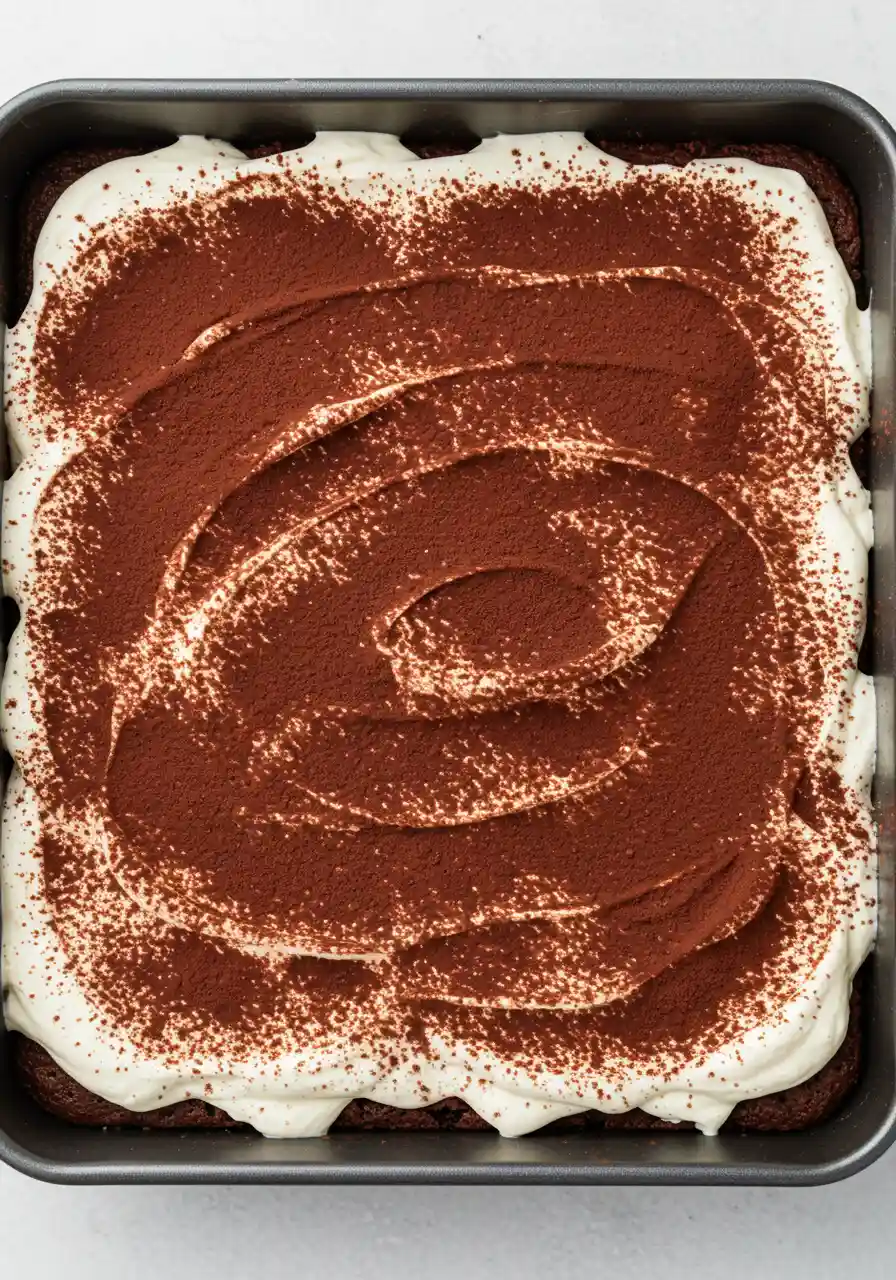
Now, slice up these beauties and enjoy every layer of deliciousness. You’ve just created a dessert that’s sure to impress, and I bet you’ll be craving it again soon!
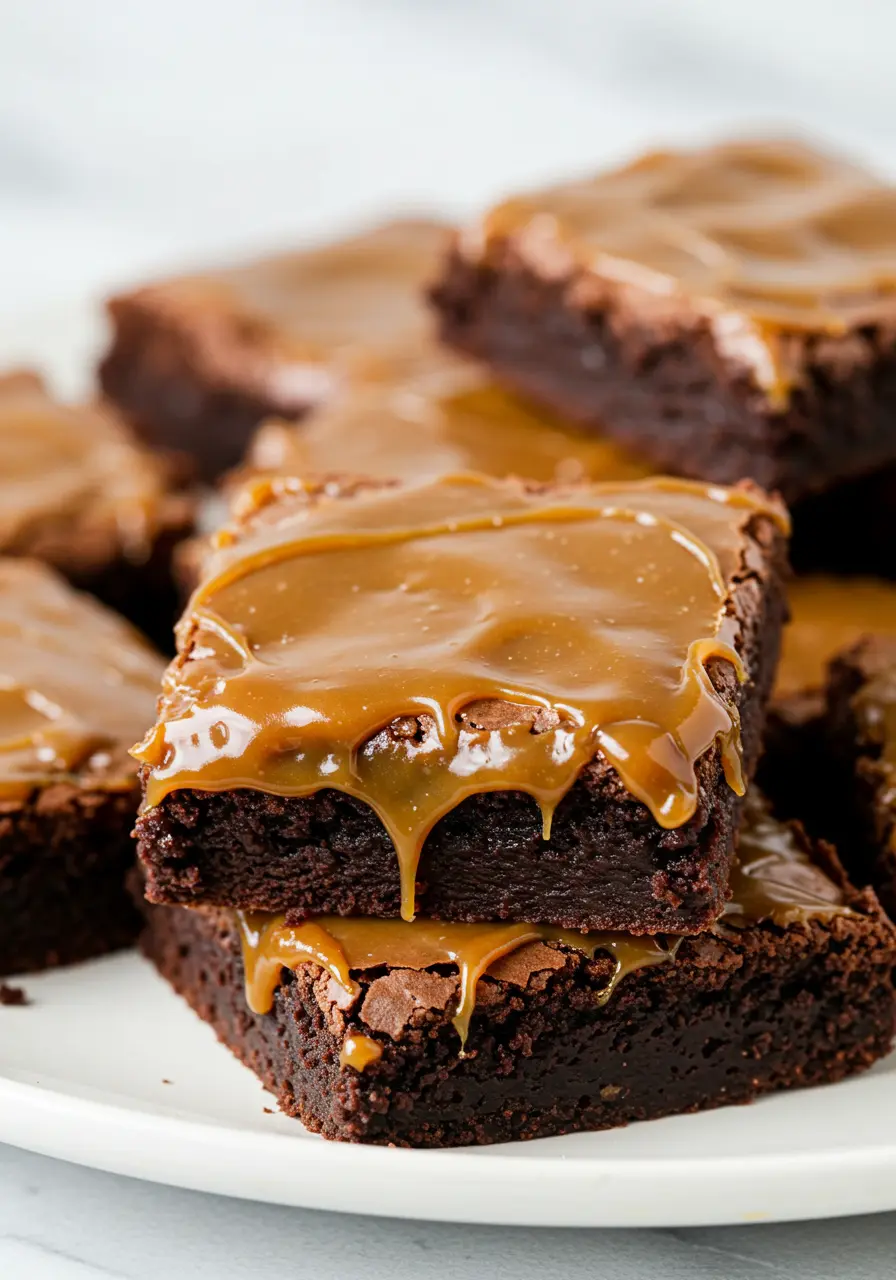
If you’re a fan of indulgent, layered desserts like these Tiramisu Brownies, you’ll love my S’mores Brownies, a perfect mix of gooey chocolate, marshmallows, and graham cracker crunch.
3 Mistakes to Avoid When Making Tiramisu Brownies
Making Tiramisu Brownies is a fun and rewarding experience, but there are a few things to watch out for to ensure they turn out perfectly. Here are four common mistakes to avoid:
1- Over-soaking the Ladyfingers
Ladyfingers should be dipped quickly into the coffee mixture, not soaked. If they stay in too long, they’ll become soggy and break apart when you try to layer them.
Aim for a quick dip, just enough to get that coffee flavor without making the ladyfingers fall apart.
2- Skipping the Chill Time
After assembling your Tiramisu Brownies, resist the urge to cut them right away.
They need time in the fridge to let the flavors meld together and the mascarpone layer set. One hour is the minimum, but longer chilling will yield even better results.
3- Overmixing the Brownie Batter
While it’s tempting to stir everything together quickly, overmixing the brownie batter can lead to a dense and tough texture.
Once the dry ingredients are added, gently fold until everything is just combined. A few streaks of flour are okay, as long as there are no pockets of dry flour in the batter.
How to Store Tiramisu Brownies
Refrigerate for Freshness
Keep your Tiramisu Brownies in an airtight container in the fridge. This helps the mascarpone cream stay firm and prevents the ladyfingers from becoming too soggy. The cool temperature also helps the flavors meld together even more.
Layer with Parchment Paper
If you’re stacking brownies in a container, use parchment paper between the layers to keep them from sticking together. This makes it easy to grab one brownie at a time without messing up the layers.
Serve Within 3-4 Days
These brownies are best enjoyed within 3-4 days of making them. After that, the ladyfingers might lose their texture, and the cream could begin to soften too much. But trust me, they’re so delicious, you probably won’t need to store them for long!
Freeze for Longer Storage
Want to save some for later? You can freeze Tiramisu Brownies for up to 2 months. Encase them securely in plastic wrap before sealing them inside an airtight container.
Did you try making this recipe? It will make me so HAPPY if you rate it⭐ and share your thoughts in the comments section below!
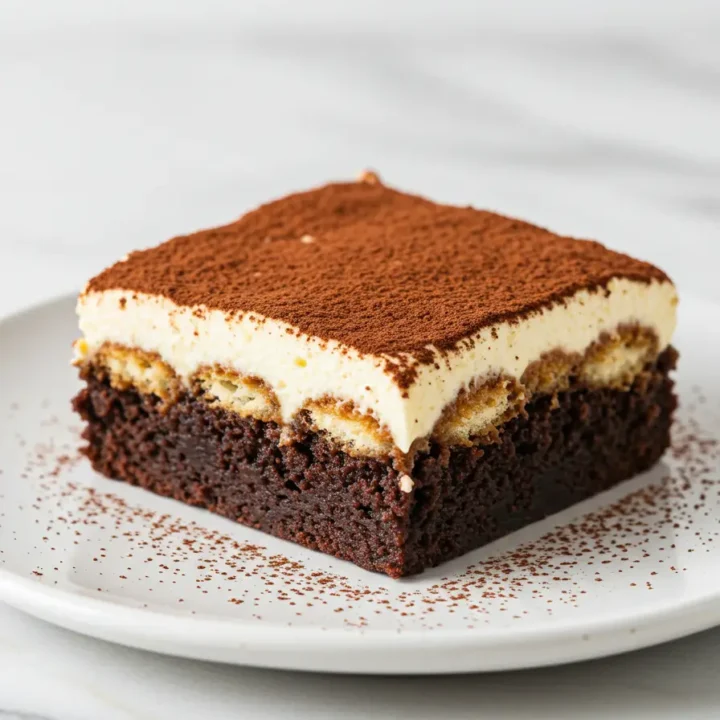
PERFECT Tiramisu Brownies: Fudgy, Creamy & Irresistible
If you love Tiramisu Brownies, get ready to fall head over heels for this dreamy dessert. Imagine the rich, fudgy goodness of brownies layered with coffee-soaked ladyfingers and a velvety mascarpone topping, basically, the best of both worlds.
Ingredients
For the Brownie Base:
- 110g dark or semi-sweet chocolate, finely chopped
- 45g natural cocoa powder
- 230g unsalted butter, melted and slightly cooled
- 4 large eggs, room temperature
- 160g granulated sugar
- 90g brown sugar
- 105g all-purpose flour
For the Ladyfinger Soak:
- 2 ½ teaspoons espresso powder
- 150g hot water (not boiling)
- 1 ½ tablespoons coffee liqueur or dark rum (optional, e.g., Kahlua)
- 12 ladyfingers (lightly dipped in the coffee mixture)
For the Mascarpone Cream:
- 260g mascarpone cheese, cold
- 200g whipping cream (at least 35% fat), cold
- 55g powdered sugar
- ¾ teaspoon vanilla extract
Instructions
- Start by preparing the brownie base. Melt the dark chocolate and butter together until smooth and glossy, either over a pot of simmering water or in the microwave for 30-second intervals, stirring each time.
- Let it cool for a bit so it doesn’t cook the eggs. While the chocolate mixture cools, whisk together your eggs, granulated sugar, and brown sugar until fluffy.
- Stir the cooled chocolate-butter mixture into the eggs and sugar until combined.
- Next, sift in the cocoa powder and flour, making sure there are no lumps.
- Gently fold everything together until fully combined, be careful not to overmix to avoid dense brownies.
- Pour the batter into a greased 9x9-inch pan (line with parchment paper for easy cleanup) and bake at 350°F for 25-30 minutes, or until a toothpick comes out with a few moist crumbs.
- Let the brownies cool completely in the pan to make assembly easier.
- While the brownies cool, prepare the mascarpone cream.
- Beat the cold mascarpone cheese and whipping cream together until soft peaks form.
- Add powdered sugar and vanilla extract and continue beating until smooth and fluffy. This creamy texture will layer beautifully on top of the brownies.
- Now, make the ladyfinger soak. In a shallow dish, dissolve espresso powder in hot water until smooth. If you're using coffee liqueur or rum, add it now.
- Dip each ladyfinger into the coffee mixture quickly, don’t let them get too soggy, just enough to absorb the flavor.
- Once the brownies are fully cooled, layer the dipped ladyfingers over the brownies.
- Spread the mascarpone cream evenly over the ladyfingers, smoothing it out to cover everything.
- Refrigerate the brownies for at least an hour to let the flavors come together and the cream set.
- When ready to serve, dust the top with cocoa powder and slice into delicious, indulgent servings. Enjoy!
Notes
- Make sure the brownies are completely cool before adding the layers. If they’re warm, the cream can melt.
- Be quick when dipping the ladyfingers! Just a second or two in the coffee mixture is enough; you want them firm, not soggy.
Nutrition Information:
Serving Size: 1 brownieAmount Per Serving: Calories: 495Total Fat: 30gCarbohydrates: 47gFiber: 2gSugar: 27gProtein: 6g
Nutritional information is provided as a general guideline and is calculated using standard online tools. Variations may occur depending on the specific ingredients and methods used.

